
Hail usually announces itself before you ever see the damage. It hits the gutters first, then the vents, then the roof plane with that hard, uneven impact that makes people stop what they’re doing and look outside. After the noise stops, most homeowners do the same thing. They step into the yard, scan the shingles from below, and hope that if they don’t see anything obvious, the roof made it through.
That’s where a lot of claims start going sideways.
A proper roof inspection after hail storm conditions isn’t just about spotting broken materials. It’s about preserving evidence, documenting the right surfaces, and knowing when the roof is too risky to access without trained help. I’ve spent more than two decades around storm damage inspections, and the difference between a clean, supportable claim and a disputed one usually comes down to three things: timing, documentation, and safety discipline.
Homeowners need a practical path forward. Adjusters need objective, usable field evidence. Both need the same thing from the inspection process, which is a clear record of what the storm did and what the roof condition is right now.
The First 24 Hours After a Hail Storm
The first day's importance is often underestimated. A homeowner hears hail strike the roof, finds leaves and granules in the downspouts, and notices dents on a metal mailbox or gutter. By the next morning, the roof may look mostly normal from the driveway. That doesn’t mean the damage is minor. It means the easiest evidence to connect to the storm is already starting to fade.
That’s why the first 24 hours should be handled with a simple priority list. Confirm the storm date and rough time. Photograph obvious impact points you can safely see from the ground. Check for interior leaks. Then line up a professional inspection if the storm dropped hail measuring 1 inch in diameter or larger, which the National Weather Service treats as the severe thunderstorm threshold, as noted in this hail inspection timing guidance.
The timing issue is bigger than convenience. According to that same guidance, insurance claims filed within two weeks of a hailstorm have significantly higher approval rates, and professional inspections performed within 3 to 7 days create the strongest position for successful claims. Fresh hail damage has distinctive signs. As time passes, those signs become harder to separate from age, foot traffic, heat exposure, and other weathering.
What to do before the day gets away from you
I tell property owners to think in terms of preserving a scene.
- Record the storm window: Write down when the hail started and stopped, even if the timing is approximate.
- Photograph collateral hits: Dents on soft metals, damaged screens, and scattered debris often support the roof story.
- Check ceilings and attic areas: If water found a path in, the roof system has already moved from impact damage to active interior risk.
- Protect vulnerable openings: If water is entering, use a temporary cover or waterproof material such as all-weather protective covering, but don’t perform repairs that erase evidence.
Practical rule: The clock starts when the hail stops, not when the leak appears.
What works and what doesn’t
What works is fast, orderly action. Ground photos. Notes. Interior checks. Prompt scheduling.
What doesn’t work is waiting for the next rain to “see if it leaks.” Hail damage often starts as bruising, puncture, or compromised sealant, and a roof can be weakened before any stain shows up inside. By the time the leak becomes obvious, the cleanest storm evidence may be harder to prove.
For adjusters, this same first-day window matters because the best files begin with a reliable chain of timing. The closer the inspection is to the event, the easier it is to connect roof conditions to the specific storm and separate hail impact from older wear.
Prioritizing Safety Before You Inspect
A roof can be damaged and dangerous at the same time. Those are not separate issues. After hail, I’m not only thinking about what got hit. I’m thinking about what got loosened, what got slick, and what may not hold a person’s weight the way it did the day before.
A lot of homeowner advice stops at “don’t climb on the roof.” That’s good advice, but it isn’t complete. You need to know what specific hazards to look for from the ground before anyone even considers a ladder.
Start with a perimeter walk
Walk the property slowly. Don’t focus only on the roof edge. Check the whole work area.
- Look for electrical hazards: Downed service lines, damaged mast components, or wires pulled low by branches change the entire safety plan.
- Check trees and limbs: A partly broken limb can drop during inspection or while placing a ladder.
- Watch for scattered metal and glass: Gutters, flashing, and skylight debris can create footing hazards around access points.
- Study drainage paths: Heavy runoff can soften soil at ladder locations and make setup unstable.
If any of those conditions are present, stop there and call for a controlled inspection approach.
Know the red flags that make a roof unsafe to walk
Some roofs tell you from the ground that they shouldn’t be walked. Others don’t.
Visible sagging is an obvious stop sign. So is displaced decking, separated ridge material, or impact around roof penetrations that suggests the assembly took more force than it appears. On asphalt systems, heavy granule loss can make the surface slick. On metal, hail and moisture together can turn a manageable slope into a slide.
Steep and tall roofs add another layer. Even when the damage itself is minor, the access risk may not be. A two-story eave line, a narrow landing zone, a high pitch, wet valleys, or fragile materials can turn a simple inspection into a fall exposure.
Here’s a useful safety reference before anyone gears up: reflective fall protection work gear.
Don’t judge roof safety by whether you can reach it. Judge it by whether you can inspect it, document it, and get off it without adding a second loss.
What professionals do differently on high-risk roofs
Certified steep-roof inspectors don’t just bring ladders. They bring a method. That usually means controlled ladder placement, roof access assessment, traction planning, harness use when conditions require it, and alternate inspection methods when walking the surface isn’t appropriate.
That distinction matters for carriers and policyholders. A rushed walkover can miss damage and create liability. A disciplined inspection process captures evidence without turning the inspection itself into the claim.
This video gives a useful visual reminder that roof access and ladder decisions should never be casual after a storm:
A simple stop-or-proceed test
Use this as a practical screen before anyone climbs:
| Condition | Safer to proceed from ground only | Consider controlled professional access |
|---|---|---|
| Wet roof surfaces | Yes | Only with proper safety evaluation |
| Steep or tall roof | Yes | Yes |
| Visible sagging or displaced materials | Yes | Yes |
| Clear single-story low-slope roof with no visible hazards | Sometimes | If documentation requires close inspection |
The right answer after hail is often restraint. The most expensive mistake I see isn’t always missed damage. It’s someone turning a roof loss into an injury loss because they assumed a quick look would be harmless.
Your Initial Ground-Level and Attic Assessment
A useful first inspection doesn’t start on the shingles. It starts with everything the hail hit on the way down and everything the roof is supposed to protect underneath. That gives you two evidence tracks. Exterior impact and interior performance.
What to check from the ground
Begin with the soft metals and exposed components around the roofline. Gutters, downspouts, box vents, turbine caps, flashing edges, and metal trim often show impact more clearly than shingles do. Window screens can show puncture or tearing. Siding can show marks or chips. Outdoor HVAC condenser fins may be bent. Those collateral hits matter because they help confirm storm intensity across the property.
Then study the roof planes from multiple angles. Don’t just stand in the driveway and look once. Move around the property and look upslope with the sun at different angles if you can. On asphalt roofs, what homeowners often call “just discoloration” may be granule loss or bruising. You may also spot displaced tabs, scuffed ridge caps, or irregular patterning where impact concentrated on one slope.
The important limitation is this. Professional roof inspections identify bruising on asphalt shingles where granules are knocked loose, cracks in the mat beneath the shingle surface, and fractured sealant around roof penetrations. These damage types are often invisible from ground level and can compromise the roof’s protective barrier, as explained in this professional hail inspection overview.
What the ground view can and cannot tell you
Ground inspection is good for pattern recognition. It is not good for final conclusions.
It can tell you the storm likely caused impact damage. It can show you where to document first. It can support a decision to call a certified inspector.
It cannot reliably confirm subtle mat fractures, sealant breaks, or all viable claimable damage areas.
If the ground view looks clean but the collateral metals are dented, don’t assume the roof escaped. Assume the roof still needs a closer, safer evaluation.
Move inside and inspect the attic
The attic tells a different part of the story. Hail doesn’t always create an immediate visible leak, but when water does enter, the attic usually shows it before the living room ceiling does.
Look for these signs:
- Darkened wood or water staining: Check the underside of the roof deck, especially near penetrations and valleys.
- Damp insulation: Wet or matted insulation often points to recent intrusion.
- Daylight at penetrations or joints: Small openings around vents or flashing transitions can become leak paths.
- Rusting fasteners or damp framing: These can indicate moisture movement, even if the drywall below still looks intact.
Use a flashlight. Take wide photos first, then close photos. If you handle insulation or rough attic surfaces, wear proper gloves such as coated palm work gloves.
A practical field checklist
| Area | What you’re looking for | Why it matters |
|---|---|---|
| Gutters and downspouts | Dents, granule accumulation | Supports exterior impact pattern |
| Roof penetrations | Disturbed sealant, visible displacement | Common leak entry points |
| Screens and metal accessories | Tears, dents | Helps verify hail severity |
| Attic decking | Stains, dampness, daylight | Confirms system compromise |
| Insulation | Wet spots, compression | Indicates active or recent intrusion |
A disciplined initial assessment gives both homeowners and adjusters something solid to work from. It won’t replace a full field inspection on every roof, but it will help separate “I’m worried” from “there’s documented reason to act.”
How to Document Hail Damage for a Successful Claim
Finding damage is only half the job. The other half is proving it in a format that survives review. That’s where many hail claims weaken. The roof may be damaged, but the file is thin, disorganized, or missing the kind of measured detail carriers use to evaluate scope.
The strongest claim packages are built like an inspection report, not a phone gallery dump.
Build the photo record in layers
Good documentation starts wide and gets tighter.
Begin with establishing shots of each elevation and roof slope that can be photographed safely. These images show context. Then take mid-range shots of specific damaged components such as gutters, vents, downspouts, screens, and siding. Finish with close-up photos of individual damage points, using a reference object for scale when appropriate.
If you’re handling a larger file, don’t leave all of that on a phone without organization. A simple upload workflow using something like a USB-C SD and microSD card reader hub makes it easier to move images into labeled folders by slope, elevation, and interior area.
Document what insurers actually evaluate
In this scenario, generic advice falls short. Carriers don’t approve roof replacement because someone wrote “hail damage visible” in a note. They look for measurable evidence.
Most guides list signs of damage but skip the quantification. Counting 8-10+ hail strikes within a standard 10×10 ft test square often justifies a total roof replacement, and that standard was updated by major carriers in late 2025, as described in this hail claim documentation discussion.
That doesn’t mean every roof with that strike count is automatically handled the same way. Material type, slope exposure, collateral evidence, repairability, and policy language still matter. But if your documentation never gets to the level of a properly identified 10×10 ft test square, you’re often not speaking the same language as the claim reviewer.
What a proper damage log should include
Don’t rely on memory. Build a written log while you inspect and photograph.
- Storm information: Date, approximate time, and hail size observations if known.
- Property orientation: Front, rear, left, right, and roof slope labels.
- Damage locations: Exact area where the impact was found.
- Damage type: Dent, bruise, crack, granule loss, fractured sealant, puncture, interior staining.
- Photo reference: Match each written note to image file numbers or folder names.
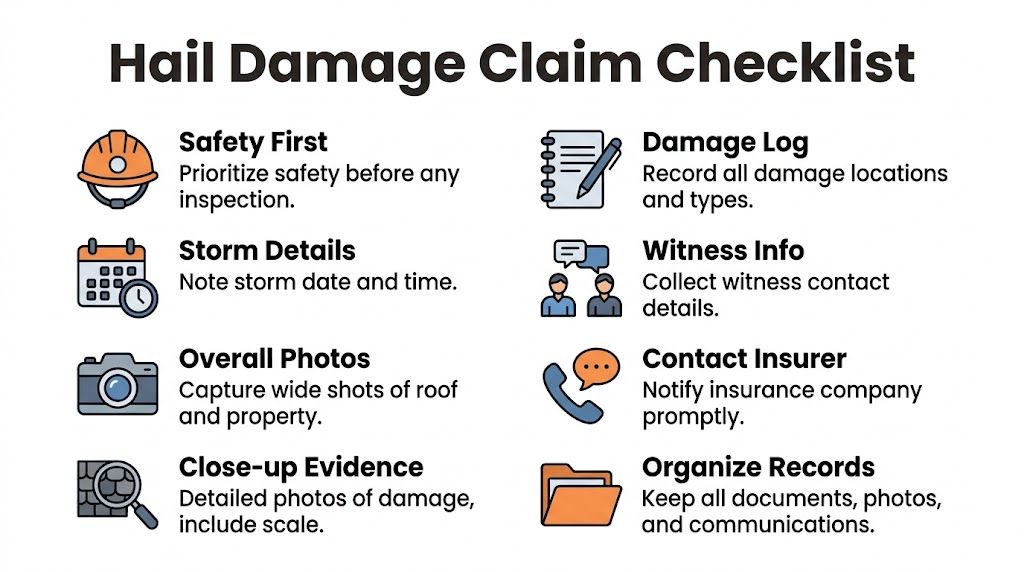
Hail Damage Claim Documentation Checklist
| Item | Status | Notes |
|---|---|---|
| Storm date and time recorded | ||
| Wide photos of all elevations taken | ||
| Mid-range photos of damaged components taken | ||
| Close-up photos with scale taken | ||
| Roof slopes labeled in notes | ||
| Test square documented where appropriate | ||
| Interior attic photos taken | ||
| Temporary mitigation photos saved | ||
| Insurer contact log started |
Common documentation mistakes
A weak hail file usually has one or more of these problems:
Too few context photos
Close-ups without showing where they were taken don’t help much.No slope identification
“Damage on roof” is not a usable field note.No scale reference
A close photo of a dent without context often invites disputes.Mixing old and new conditions
If photos aren’t organized by date and location, the claim gets muddy fast.Skipping the inside of the home
Roof claims aren’t just about the exterior covering. Interior effects matter too.
Field note: If a reviewer can’t tell where a photo was taken, what surface it shows, and why it matters, that photo is doing very little work for your claim.
Make the file readable for the adjuster
The best documentation package is easy to use. Label files clearly. Keep one folder for exterior overview photos, one for each slope if necessary, one for collateral indicators, one for attic/interior findings, and one for temporary repairs and receipts.
Adjusters are handling a volume of information. If your package is orderly, the damage narrative becomes easier to follow. If it’s chaotic, even valid damage can get slowed down by avoidable questions.
Good documentation doesn’t exaggerate. It clarifies. That’s the standard that moves a hail claim forward.
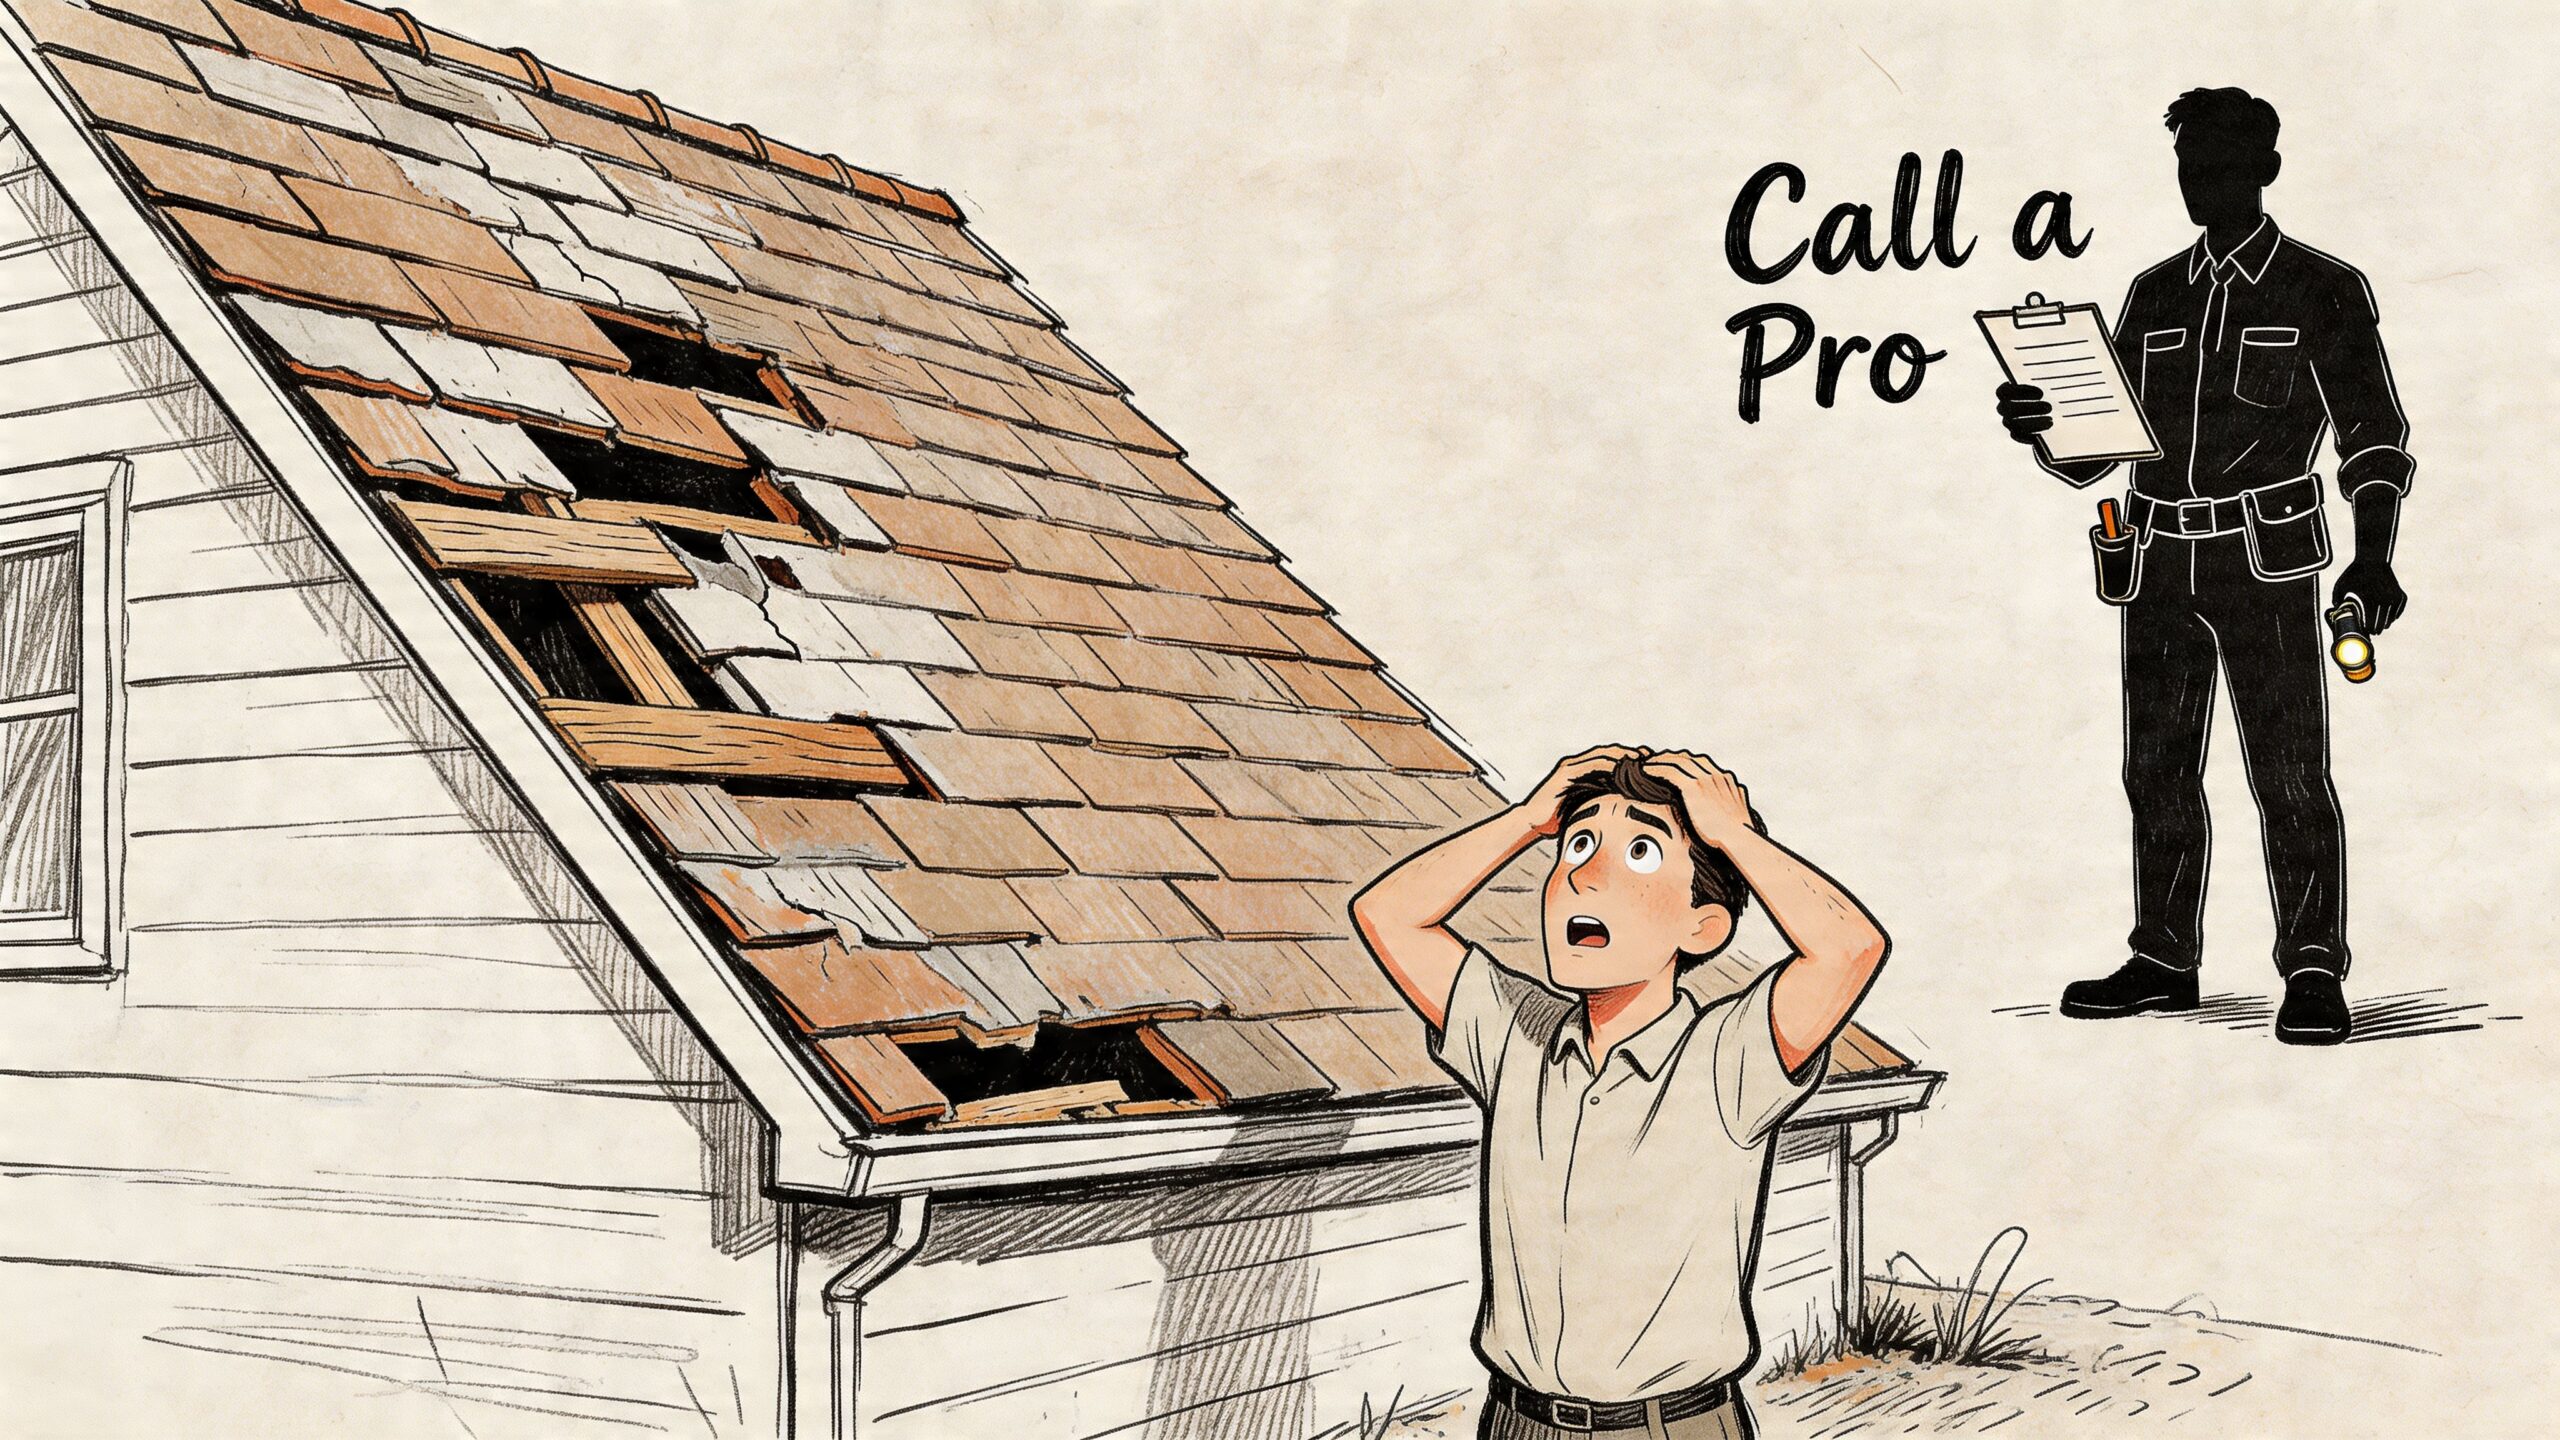
When to Call a Certified Steep-Roof Inspector
Some roofs can be evaluated safely with a controlled inspection plan. Others shouldn’t be touched by an untrained person at all. The key is recognizing the line before someone crosses it.
Homeowners often focus on whether they can see damage. I focus first on whether the roof can be accessed safely enough to measure, photograph, and verify that damage without creating a fall exposure or damaging the roof further.
Situations where professional access is the right call
A certified steep-roof inspector should move to the top of the list when the structure is tall, the pitch is aggressive, the access points are limited, or the roofing material is fragile. Tile, slate, weathered laminate, and some older systems don’t tolerate casual foot traffic well. Add hail, moisture, or compromised flashing, and the roof can become both slick and structurally deceptive.
These are the most common decision points I see:
- Tall structures: Multi-story buildings change ladder setup, fall protection, and rescue planning.
- Steep slopes: Accurate inspection on steep roofs takes controlled movement and proper anchoring.
- Complex geometry: Valleys, dormers, intersecting planes, and limited landing areas reduce safe working space.
- Questionable substrate condition: Soft spots, sagging, or hidden deck weakness raise the risk immediately.
Why steep and tall roofs get under-documented
Claim outcomes are often won or lost based on the inspection details. On steep or tall roofs, a person standing in the yard can’t accurately count and document impact density. Even some field visits end up incomplete if access isn’t planned correctly.
According to this discussion of hail inspection challenges on steep roofs, 8-10+ hail hits per 10×10 ft square often triggers full replacement, but accurately counting strikes on steep or tall roofs requires drone technology or specialized safety gear, which isn’t feasible for homeowners. The same source states that delayed professional inspections on complex roofs lead to 20-30% higher claim denial rates.
That makes practical sense in the field. If nobody safely reaches the correct test areas, the file may end up relying on incomplete photos, broad assumptions, or collateral evidence alone. That’s not always enough.
What a certified steep-roof inspector adds
A qualified inspector brings more than courage. The value is in controlled access and objective documentation.
On complex roofs, the question isn’t whether damage might exist. The question is whether someone can prove it without guessing.
Professionals may use ladder assists, harness systems, controlled tie-off methods, and alternate viewing tools where direct roof walking isn’t appropriate. They also understand where hail damage tends to show first on vulnerable areas like ridges, valleys, edges, and less-supported shingle zones.
Fox Claims Consultants LLC is one example of a property inspection partner that handles steep and tall roof evaluations, ladder assist, storm damage documentation, and emergency response for difficult structures. That kind of service is relevant when the roof layout or hazard profile makes ordinary inspection methods unreliable.
A simple decision table
| Roof condition | DIY observation from ground | Certified steep-roof inspector |
|---|---|---|
| Single-story, easy access, no visible hazards | Often enough for initial screening | If claim scope remains unclear |
| Steep pitch | Limited value | Recommended |
| Two-story or taller | Limited value | Recommended |
| Fragile roofing material | Not recommended | Recommended |
| Signs of soft spots or sagging | Stop | Required |
What doesn’t work on high-risk roofs
What doesn’t work is sending the least prepared person up with a phone and a ladder. That often produces poor photos, no usable strike count, and a safety problem.
What also doesn’t work is relying entirely on distant drone overviews if the claim needs close verification of bruising, sealant fractures, or surface impact density. Remote imagery has a place. It just isn’t a complete answer on every file.
When the roof is steep, tall, or complicated, professional access isn’t a luxury item. It’s how the inspection gets done accurately enough to support a real claim decision.
Managing Temporary Repairs and Engaging Your Insurer
After the roof has been assessed and the damage is documented, the next job is to prevent additional loss without erasing the evidence you just worked to preserve. That balance matters. Temporary repairs should stabilize the property, not rewrite the claim file.
Temporary repairs that help instead of hurt
The right temporary repair is limited, visible, and documented. If a section is actively taking on water, cover the affected area in a way that reduces intrusion and can be photographed before and after installation. If a vent cap is displaced, prevent water entry without tearing apart the surrounding system. If tree debris is resting on the roof, removal should be handled carefully enough that the contact points and resulting damage are preserved in photos first.
Keep every receipt. Photograph the condition before mitigation, during mitigation, and after mitigation. If materials are used to make a short-term patch, note where they were placed and why.
For small temporary fixes to detached components or accessories, homeowners sometimes keep basic supplies nearby, such as a repair kit with glue and UV torch. Use caution with any product choice. Temporary measures should never substitute for proper roof repairs or alter claim-critical damage areas.
What not to do
Avoid these common mistakes:
- Don’t replace damaged sections before the insurer sees the loss unless immediate mitigation is necessary to stop active damage.
- Don’t throw away damaged materials that may help verify what failed.
- Don’t let an emergency patch become a permanent repair plan without inspection and scope agreement.
- Don’t describe damage loosely on the phone if you haven’t confirmed it. Stick to observed facts.
Starting the insurance claim cleanly
When you contact the insurer, have the basics ready. Property address. Storm date. A short description of what was observed. Whether interior leaking is active. Whether temporary repairs were necessary. Whether a professional inspection has already documented roof and collateral damage.
Then keep a communication log. Write down who you spoke with, when, and what was requested. Save emails, claim numbers, and scheduling notes in the same folder as your photos and damage log.
The best claim conversations are factual and restrained. State what was observed, what was documented, and what was done to prevent further damage.
What adjusters usually need to move faster
Adjusters generally work more efficiently when the file includes:
| Claim item | Why it matters |
|---|---|
| Storm date and timeline | Connects the loss to the weather event |
| Exterior and interior photo set | Shows both impact and resulting effects |
| Damage log | Helps review scope without guesswork |
| Temporary repair records | Shows mitigation steps and protects reimbursement discussions |
| Organized communications | Reduces confusion and duplicate requests |
A clean roof inspection after hail storm conditions doesn’t end with finding impact marks. It ends when the property is stabilized, the evidence is preserved, and the insurer has a usable package to review. That’s how you protect the structure and keep the claim moving in the right direction.
When hail hits a steep roof, a tall structure, or any property where access and documentation are difficult, Fox Claims Consultants LLC provides inspection support built around safety, clear photo records, and practical field reporting. If you need help with storm damage evaluation, ladder assist, temporary mitigation, or a claim-ready inspection package, their team can step in and document the loss in a way carriers, adjusters, and property owners can all work from.
Leave a Reply