
The call usually comes after the storm has already moved on. A limb hit the roof, shingles are in the yard, water is showing up on a ceiling stain that wasn’t there yesterday, and nobody standing in the driveway can tell how bad it really is. On a steep or tall roof, that uncertainty gets worse fast. You can’t safely see enough from the ground, and one bad decision in the first day can turn a valid claim into a fight over documentation, mitigation, or causation.
That’s why insurance claim roof damage work has to be handled in the right order. Safety first. Temporary protection second. Documentation before conditions change. Then the claim file, the inspection, the estimate, and the negotiation.
Generic homeowner advice usually skips the hard part. It assumes a walkable roof, a simple inspection, and a straightforward carrier decision. Steep and tall roofs don’t behave that way. Access is harder, hidden damage is easier to miss, and emergency work has to be done without destroying the proof you’ll need later.
Your Roadmap Through a Roof Damage Claim
A roof claim is part construction problem, part evidence problem, and part communication problem. If any one of those breaks down, the file slows down.
In 2024, U.S. roof repair and replacement costs reached nearly $31 billion, a 30% increase from 2022, and roof-related issues represented over a quarter of all residential claim value, driven primarily by wind and hail, according to Verisk’s report on rising U.S. roof claim costs.
For homeowners, that means the difference between a complete repair and an out-of-pocket gap can be substantial. For desk adjusters and field adjusters, it means roof files need solid support, not assumptions. For carriers, it means every shortcut on inspection quality creates a bigger risk of dispute later.
What a smooth claim actually looks like
A workable file usually follows this sequence:
- Stabilize the property so further damage doesn’t expand.
- Capture conditions as they exist now before water, cleanup, or temporary repairs alter the evidence.
- File the claim clearly with a simple first report of loss.
- Support the field inspection with organized photos, notes, and access.
- Review the scope line by line before accepting payment.
- Supplement what was missed with proof, not opinions.
Practical rule: The best roof claims are built before the first adjuster call ends. If the early documentation is weak, the rest of the file usually stays weak.
Steep roofs raise the standard. The person handling the claim needs more than a few phone photos and a rough opinion from the curb. They need safe access, disciplined documentation, and a clean explanation of what the storm did versus what was already there.
Immediate Actions After Roof Damage Occurs
The first hours matter more than is commonly understood. What you do right away affects safety, repair cost, and whether the carrier later argues that added damage came from delay instead of the storm.
Start from the ground
Don’t climb a damaged roof just to “take a look.” On steep and tall structures, that’s where people get hurt and where evidence gets disturbed.
Use a ground-level check first:
- Look for immediate hazards such as hanging limbs, fallen mast lines, detached gutters, broken windows, and visible sagging.
- Check inside the house for active leaks, bubbling paint, wet insulation smells, stained drywall, and attic moisture.
- Identify where water is entering without opening up materials unless emergency conditions require it.
- Photograph the scene before cleanup including debris fields, downed branches, and runoff areas.
If there’s active intrusion, your next job is mitigation. Insurance expects you to prevent further loss where you reasonably can.
Mitigation is not optional
Temporary protection is part of a good claim, not something separate from it. On a steep roof, that usually means controlled access, photo-documented tarping, and a written record of what was exposed before the tarp went on.
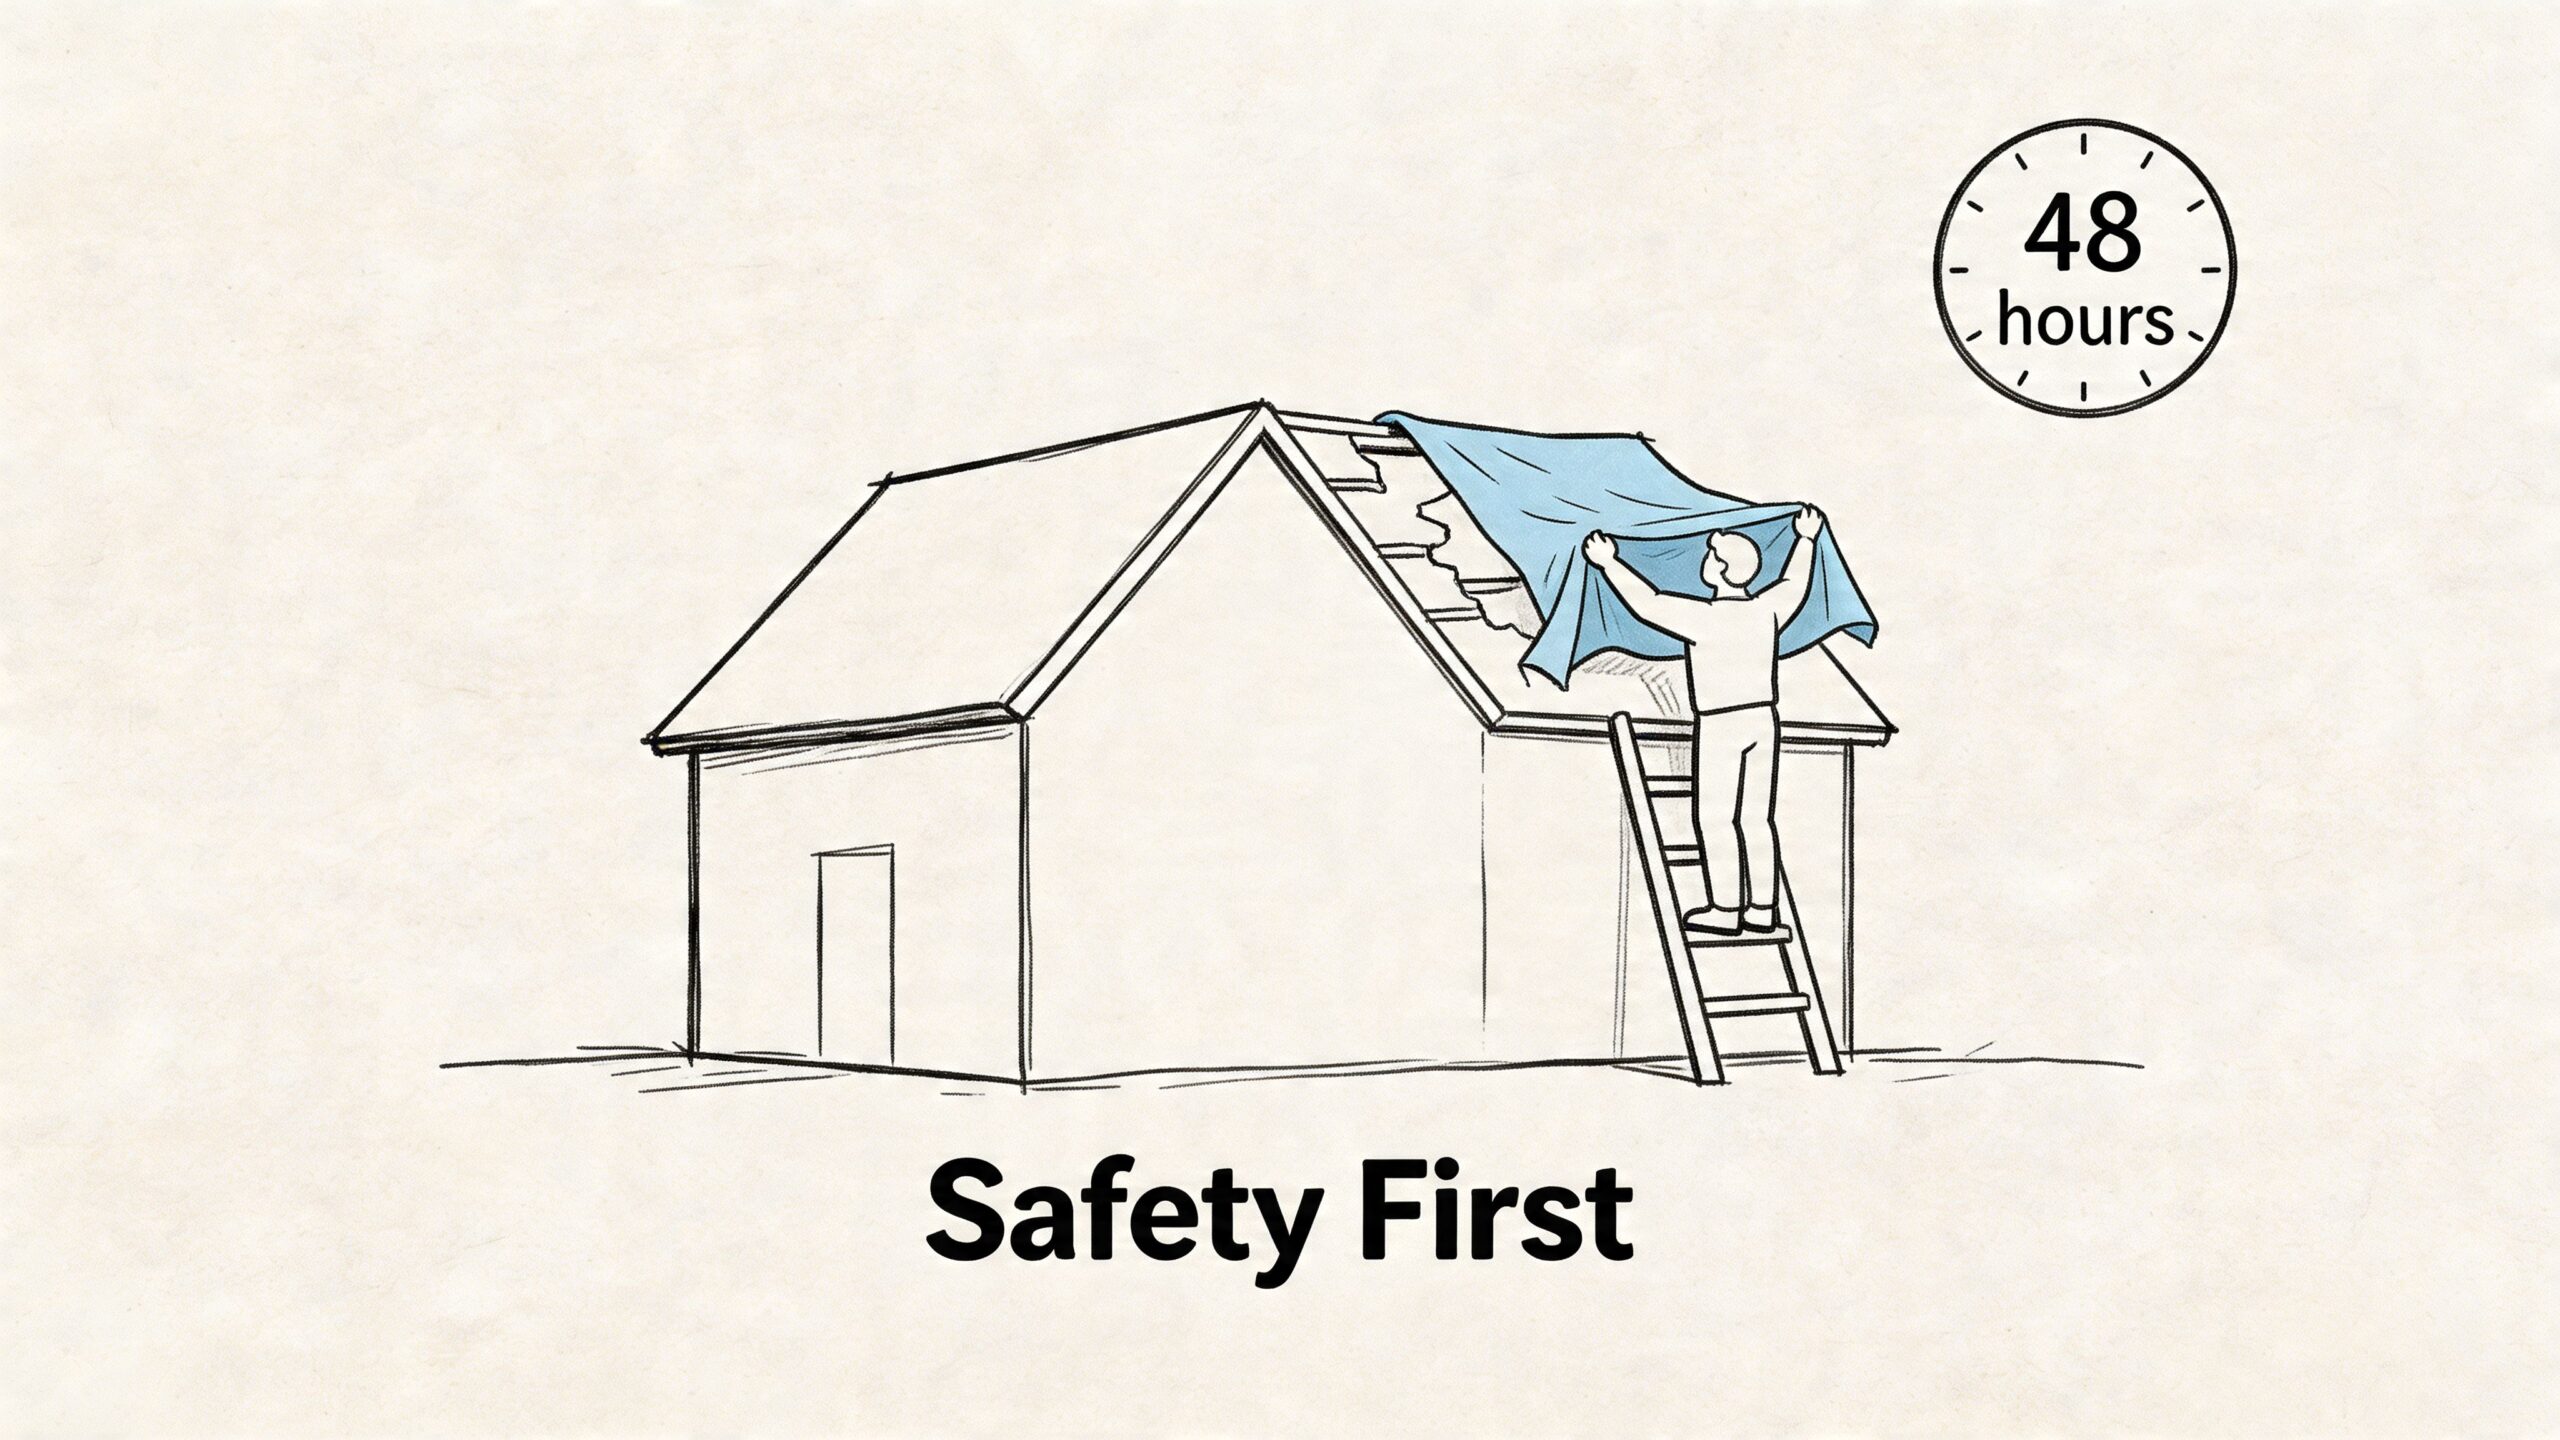
Specialized ladder assist and emergency services are critical for steep and tall roofs, and rapid deployment of certified inspectors for photo-documented tarping and assessments can reduce claim cycle times by documenting pre-repair conditions accurately, which helps counter denials for improper maintenance, as discussed in this analysis of wind damage roof claim denials.
That photo documentation has to happen before and during mitigation, not after. Once a tarp is installed, broken tabs, punctures, uplift patterns, and impact marks may be obscured.
What to do in the first two days
The first two days should look disciplined, not frantic.
- Call for emergency protection early if water is entering or the decking is exposed.
- Save every receipt for tarp materials, labor, and temporary interior drying.
- Keep damaged materials if practical when they’re removed during emergency work.
- Create a simple timeline with storm date, first discovery, mitigation date, and every call made.
For those handling temporary cover details, even small hardware choices matter when a tarp has to stay secure until the carrier finishes inspection. Material accessories such as sealed tarp eyelets and washers can help support a cleaner temporary setup, provided the installer documents conditions before fastening anything in place.
Don’t let a neighbor, handyman, or eager salesperson “fix it quickly” before the damage is documented. Emergency stabilization is one thing. Unrecorded repair is something else entirely.
What doesn’t work
Several early mistakes show up again and again:
| Early mistake | Why it creates trouble |
|---|---|
| Climbing a steep roof without proper access | Increases injury risk and can alter damage evidence |
| Waiting to tarp an active leak | Expands interior damage and invites preventable-loss arguments |
| Throwing debris away immediately | Removes storm context that may support causation |
| Telling the carrier “it’s probably old damage” | Creates a bad note in the claim file before inspection |
| Letting a full repair start before inspection | Makes original conditions harder to verify |
The best immediate action is controlled action. Keep people safe, stop the water, and preserve the scene.
Building an Undeniable Evidence Package
Most weak claims fail long before they’re denied. They fail when the evidence package is thin, disorganized, or unable to connect the storm to the damage.
A few random pictures from a phone won’t carry a steep-roof claim very far. The file needs exterior proof, interior correlation, and enough detail that a desk adjuster can understand the loss without guessing.
The documentation standard professionals use
Certified inspectors use a structured process, not a casual walkaround. That process includes 10×10 ft hail test squares, and in many cases claim viability depends on documenting over 50 hits per square foot. Professional support pushes claim success rates to over 90%, compared with 40-60% for DIY efforts, based on this professional roof claim documentation methodology.
That matters most on steep and tall roofs because access limits what an untrained person can capture. You need a record that is systematic enough to survive review by a field adjuster, desk adjuster, supervisor, or engineer.
The seven pieces that make a file usable
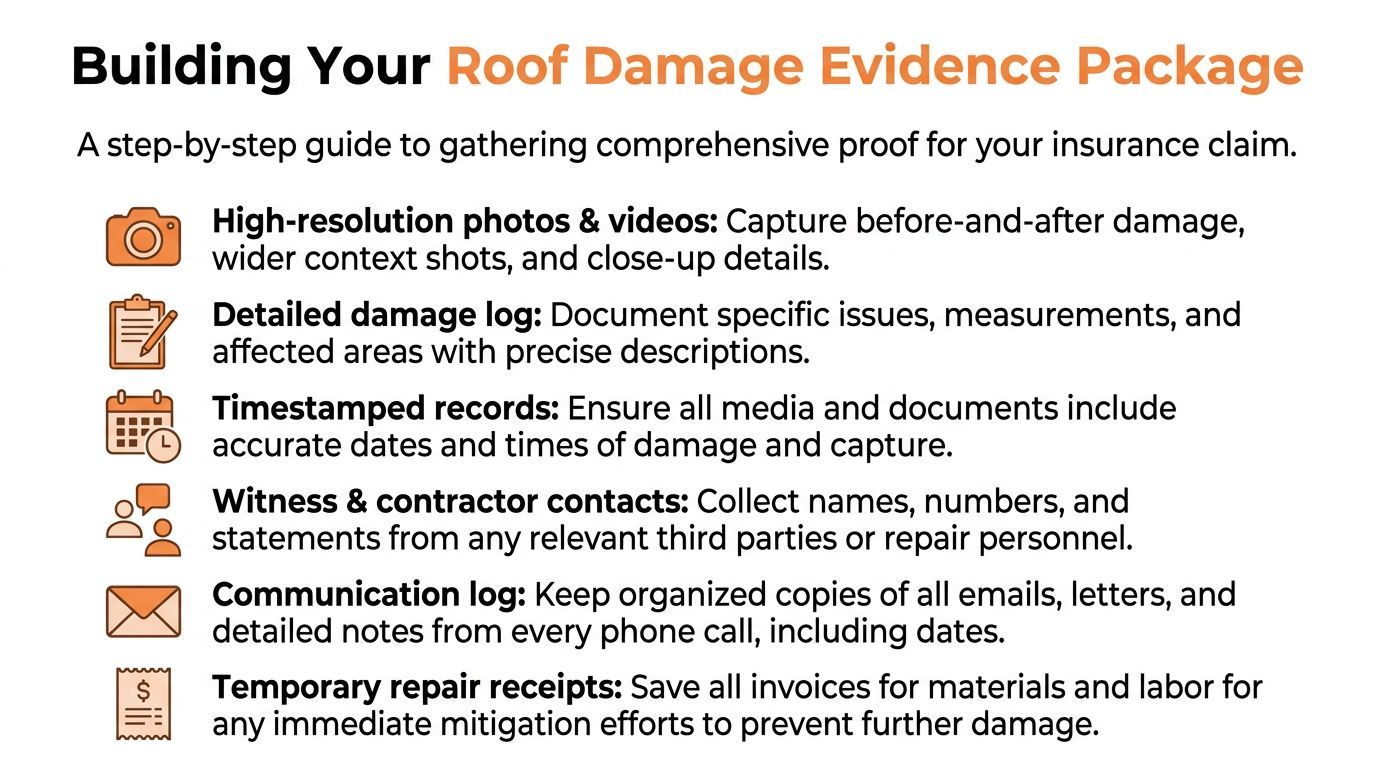
A solid roof damage package usually includes all of the following:
Safety and access record
Note roof pitch, height, access points, and whether ladder assist, drone support, or other safe inspection methods were used.Complete exterior elevation photos
Capture each slope, ridge, valley, flashing run, vent, gutter line, and perimeter edge.Close-range damage images
Show shingle creases, torn tabs, punctures, exposed matting, displaced ridge components, split flashings, and soft-metal impacts.Marked test areas for hail claims
Chalked squares help move the conversation from “I think it’s damaged” to measurable impact density.Interior correlation
Match attic moisture, ceiling stains, insulation wetting, and wall migration to likely exterior breach points.Collateral damage evidence
Gutters, downspouts, screens, siding, window wraps, metal caps, and fence lines often help prove storm intensity.File organization
Every photo should be dated, labeled, and grouped by slope or room so reviewers aren’t sorting through chaos.
A claim gets stronger when the interior and exterior tell the same story on the same timeline.
Moisture proof matters
Interior water claims often fall apart because people photograph the stain but not the moisture path. If drywall is wet, insulation is damp, or attic sheathing shows fresh intrusion, record that clearly and tie it to the roof area above.
Tools used in mitigation or inspection can help confirm active moisture conditions. Something as basic as a humidity tester and damp detector can support interior condition logging when used carefully and documented with location photos.
Ultimate Roof Damage Claim Checklist
| Task Area | Homeowner Action | Adjuster Focus | Contractor/Inspector Role |
|---|---|---|---|
| Safety | Stay off the roof and note hazards | Confirm safe access conditions | Set access method for steep or tall areas |
| Temporary mitigation | Arrange tarp or dry-in if needed | Verify mitigation was reasonable | Photo-document pre-tarp and post-tarp conditions |
| Exterior overview | Photograph all elevations and debris | Review storm-related patterns | Capture full slope-by-slope roof set |
| Impact mapping | Note visible dents or shingle marks | Evaluate storm consistency | Lay out hail test squares and close-ups |
| Interior damage | Photograph stains and active leaks | Match interior to exterior breach points | Trace probable entry path |
| Communication file | Save emails, texts, claim number, notes | Track reporting and contact history | Deliver organized report package |
| Repair pricing | Gather contractor scope | Compare covered scope to estimate | Identify missing line items and supplement support |
What usually weakens the file
The most common evidence problems are simple:
- Single-angle photos that don’t show where on the roof the damage sits.
- No wide shots to establish context.
- No timestamps or labels to tie conditions to the event.
- No collateral evidence when the roof marks alone are debatable.
- No interior correlation for leak-related losses.
When we review difficult files, the issue is rarely that there are no photos. The issue is that the photos don’t prove enough.
Filing Your Claim and Working with the Adjuster
Once the property is stable and the initial evidence is captured, file the claim. Keep the first report clear and narrow.
You don’t need to diagnose the whole loss on that call. You need to report what happened, when you discovered it, what emergency steps were taken, and whether active leaking or structural exposure exists.
What to say on the first report
Keep your language factual:
- Date of loss or discovery if known.
- Type of event observed such as wind, hail, or tree impact, if that’s what you experienced.
- Current condition including active leaks, visible roof damage, or interior staining.
- Mitigation already completed such as tarping or water extraction.
- Request for inspection based on roof and interior damage.
What you should avoid is guessing. Don’t speculate about old damage, total replacement, or exact cause if you don’t know. Those notes can stay in the file long after the inspection proves something different.
Know the two adjuster roles
A lot of confusion disappears once you know who does what.
| Role | What they usually handle |
|---|---|
| Desk adjuster | File management, communication, coverage review, payment processing |
| Field adjuster | Site inspection, damage observations, measurements, initial scope support |
The desk adjuster may never see the roof in person. That’s why your report package has to be easy to follow. If the field inspection is rushed or incomplete, the desk adjuster often only has the written scope and photos to rely on.
Prepare for the field visit
Before the adjuster arrives, get organized.
- Have the claim number ready and keep a written communication log.
- Group your photos by location so the adjuster can follow them quickly.
- Mark interior leak areas and note when they first appeared.
- Provide safe access information for steep or tall sections.
- Have emergency repair receipts in one folder.
If you’ve used temporary materials inside to protect flooring or contents, keep notes on where and why. Even ordinary stabilization items can matter to the timeline. For example, temporary containment or floor protection may rely on products such as heavy-duty double-sided carpet tape, but the important part for the claim is the record showing what was protected and when.
Keep every call professional. Claims move better when the file reads like a job record, not a running argument.
Policy language that changes expectations
Before you react to an estimate, check whether your policy pays on ACV or RCV terms for the roof. ACV usually means depreciation comes out first. RCV usually means certain withheld amounts may be recoverable after compliant repair documentation is submitted.
That distinction affects cash flow, contractor planning, and how far apart your first payment may be from the final amount due.
Mastering Estimates and Settlement Negotiation
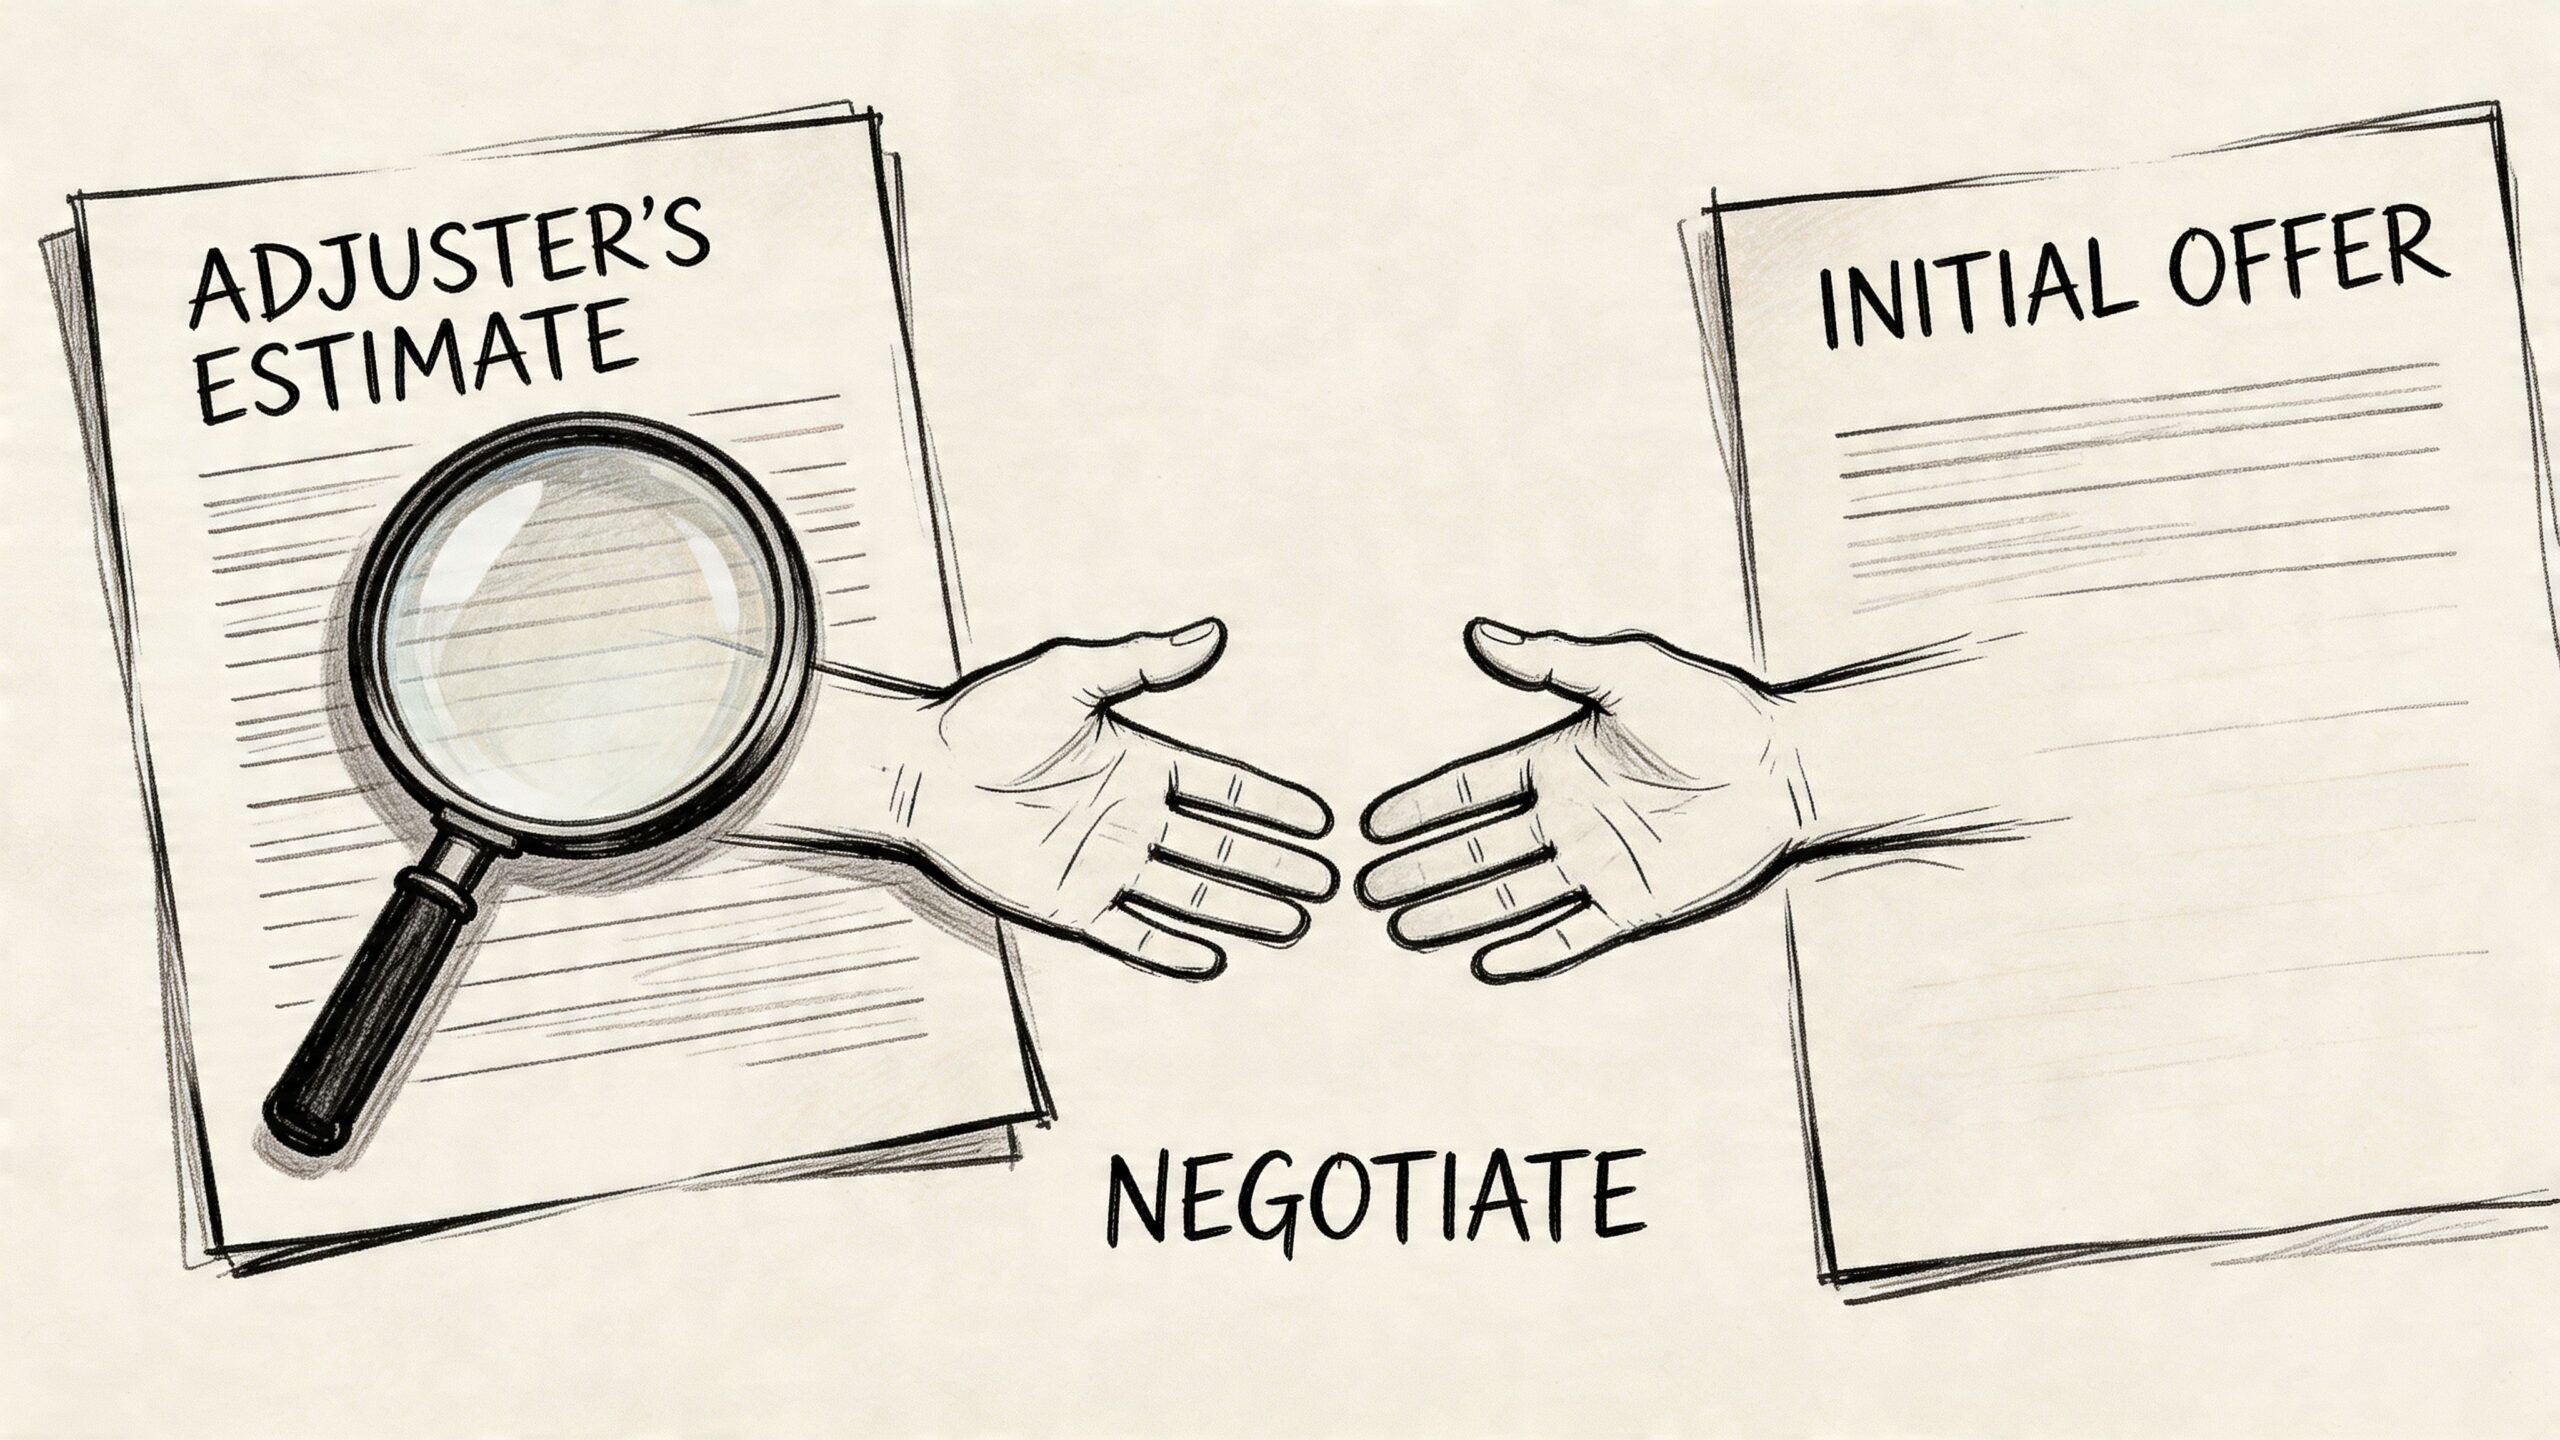
The first estimate is a starting point. It isn’t a verdict.
On steep and tall roofs, the gap between a field estimate and actual repair scope is often driven by access difficulty, material handling, safety setup, and code-related items that don’t show up in a quick visual pass.
Initial insurer estimates underpay by 20% on average. They often omit critical costs such as labor for steep roofs with a 1.5-2.0x multiplier, code upgrades at 12% of total cost, and proper ventilation at 10%. Professional negotiation can yield uplifts of 15-30%, according to this review of common roof claim underpayments and supplement strategies.
Read the estimate like a scope, not a check
Don’t focus only on the dollar figure. Read the line items.
The adjuster’s estimate should answer practical questions:
- What exact roofing materials are included?
- Is tear-off complete or partial?
- Are steep charges included?
- Is high access or difficult setup reflected?
- Are flashings, vents, starter, ridge, drip edge, and disposal listed?
- Are code-triggered items included where applicable?
- Is interior repair addressed separately or ignored?
If one of those is missing, the payment can still look decent at first glance while the scope remains incomplete.
Where steep-roof estimates usually miss
Many insurance claim roof damage disputes start. The file says “repairable” or “replace roof covering,” but the practical build-out says something else.
Common misses include:
| Common omission | Why it matters |
|---|---|
| Steep-roof labor factor | Tall or high-pitch work changes labor and safety demands |
| Ventilation components | A roof system isn’t just shingles |
| Underlayment and accessories | These often become necessary during code-compliant replacement |
| Flashing replacement | Reuse isn’t always appropriate or possible |
| Decking issues discovered after tear-off | Hidden damage changes scope |
| Waste and haul-off detail | Disposal costs can be real and substantial |
Compare line by line
A contractor bid and an adjuster estimate may describe the same roof in two very different ways. Don’t argue globally. Compare line by line.
A good comparison asks:
- Which items appear on both documents?
- Which items are on the contractor bid but absent from the insurance scope?
- Which quantities differ?
- Which labor conditions are understated?
- Which code items appear to have been omitted?
Structured supplement support matters. If the contractor says a flashing assembly needs replacement, the file should include photos, explanation, and the related line item request. “We need more money” isn’t enough. “The front valley metal is impact-damaged and not reusable, see photos 18 through 24” is useful.
A later-stage review often benefits from seeing how an estimate translates into actual assembly layers and roof system performance. Even unrelated building-envelope materials can help a property owner understand why omitted components matter. For example, products like closed-cell adhesive insulation foam illustrate how layered systems rely on the parts beneath the visible surface, and roofing works the same way. The visible covering is only part of the assembly.
Use the supplement process correctly
A supplement is not a complaint. It’s a documented request to revise scope or pricing based on omitted items, newly discovered damage, or code requirements.
Your supplement package should include:
- A revised estimate or contractor scope
- Annotated photos
- A concise cover note listing disputed items
- Supporting measurements
- Any post-tear-off discoveries
- Applicable policy or estimate references where relevant
Don’t overload the adjuster with a disorganized photo dump. A short, organized package gets reviewed faster than a long, messy one.
Here’s a useful explainer before you prepare your comparison package:
What works in negotiation
Effective negotiation is specific and calm.
- Lead with scope discrepancies, not frustration.
- Tie every request to proof such as photos, measurements, or access conditions.
- Separate coverage issues from pricing issues so the conversation stays clear.
- Document every revision and confirm verbal conversations by email.
The strongest supplement isn’t the longest one. It’s the one that shows exactly what was missed and why it belongs in the claim.
What doesn’t work is accepting a patch on a roof system that won’t perform as a system, or demanding full replacement without evidence. Both extremes slow the file.
Overcoming Common Claim Denials and Pitfalls
A denial often sounds final. Many times, it’s just the carrier’s position based on the file they have at that moment.
That distinction matters. If the file is missing proof, the answer is usually more precise evidence, not more emotion.

Cosmetic versus functional damage
This is one of the most common hail disputes. The carrier may say the marks are cosmetic and excluded. The roof owner sees obvious impact and assumes replacement follows automatically. Both sides then talk past each other.
Insurers frequently invoke cosmetic damage exclusions to deny hail claims, but forensic inspections on steep roofs can reveal functional damage such as fractured fiberglass matting that reduces lifespan and fire rating, creating a basis for appeal, as outlined in this discussion of hail damage roof claim disputes.
On steep roofs, hidden fractures can be missed during a quick visual inspection. That’s where disciplined close-up imaging, collateral review, and proper slope access matter. Soft-metal impacts on vents, gutters, and other components can also support the storm narrative when the shingle damage itself is being minimized.
Wear and tear versus storm damage
Carriers are right to separate old age from sudden accidental loss. The problem is that many roofs have both. A maintained older roof can still suffer covered storm damage.
To push back effectively, the file has to show:
- A defined event timeline
- Specific storm-related damage patterns
- Maintenance history if available
- Pre-loss condition evidence when it exists
- Why the observed failure is inconsistent with ordinary aging alone
The same applies to “improper maintenance” arguments. If the roof was breached in a way consistent with wind uplift, impact, or tree strike, and the emergency work was timely, the file should say so clearly.
Other claim mistakes that create avoidable trouble
Some problems aren’t technical. They’re procedural.
| Pitfall | Why it hurts the claim |
|---|---|
| Accepting the first offer without review | Missing items stay unpaid unless challenged |
| Letting a storm chaser control the process | Documentation quality and follow-through may be poor |
| Filing late | Event linkage gets harder as time passes |
| Starting major repairs before the inspection | Original damage becomes harder to prove |
| Mixing old damage with new damage in one narrative | Credibility drops |
If you need a stopgap on torn membranes, punctures, or temporary weatherproofing while you preserve the claim, products made for interim sealing such as quick-fix repair materials for rips and leaks may have a place in emergency protection. Just make sure the damaged area is photographed thoroughly first and that the temporary work is logged.
If a denial letter relies on broad wording and very little property-specific detail, review the evidence package before assuming the claim is over.
How to respond to a denial
A good appeal is disciplined.
- Read the denial letter carefully and identify the exact reason given.
- Match that reason to missing evidence rather than rewriting the whole claim from scratch.
- Add targeted support such as better photos, repair opinions, collateral documentation, or moisture correlation.
- Submit a concise rebuttal with attachments organized by issue.
- Request written review of the added material.
Appeals fail when they repeat the original complaint without fixing the proof problem. They succeed more often when they answer the carrier’s stated reason directly.
Frequently Asked Questions About Roof Damage Claims
Roof claims get messy in the gray areas. These are the questions that come up after the first inspection, when the paperwork starts to conflict with the actual repair.
What if my contractor’s estimate is much higher than the adjuster’s?
That doesn’t automatically mean either side is wrong. It usually means they scoped the loss differently.
Ask for a line-by-line comparison. Look for missing accessories, steep access items, incomplete tear-off, omitted flashing, ventilation, code-related items, and hidden damage discovered after a closer inspection. The fix is usually a supplement package, not a shouting match.
Can I start repairs before the claim is approved?
You can usually perform reasonable emergency mitigation to prevent further damage. Full repairs before inspection are much riskier because they can erase the evidence.
If urgent permanent work can’t wait, preserve the file first. Photograph everything, save damaged materials when practical, keep invoices, and notify the adjuster in writing before work proceeds.
What if the claim is partially approved but not enough for a full replacement?
That usually means the carrier believes the roof is repairable or that some portions are excluded. Review the estimate, the policy language, and the inspection evidence.
If the repair approach creates matching issues, leaves damaged components unaddressed, or omits necessary system items, the next step is a documented supplement or appeal. Focus on why the approved scope doesn’t return the roof to proper condition under the policy terms.
How do recoverable depreciation payments work?
It depends on the policy. In many cases, the carrier issues an initial payment and holds back a portion until the covered work is completed and documented.
That means you’ll need final invoices, photos, and sometimes proof that the work matched the approved scope. If you don’t submit the required completion documents, that withheld amount may never be released.
Who pays for emergency tarping and temporary protection?
That depends on the policy and the final coverage position, but emergency mitigation is often part of the claim discussion when it was reasonable and necessary to prevent further damage. The key is documentation.
Keep the invoice, before-and-after photos, and a note showing why the service was needed when it was performed.
Why do so many roof claims get stuck or closed with no payment?
Because the file often breaks at one of the pressure points already discussed. Public homeowners insurance data from 2024 shows that over 40% of roof claims were denied or closed with no payment, as noted in this Insurance Information Institute blog article on roof resilience and claims. That’s why proactive documentation, timely mitigation, and a clean scope review matter so much.
Should I handle a steep-roof claim on my own?
You can report it on your own, but steep and tall roofs are where DIY approaches most often leave blind spots. Safe access, complete slope coverage, and proper damage mapping are harder than they look from the ground.
If the roof is difficult to access, the damage pattern is disputed, or the estimate looks incomplete, bring in qualified inspection support before the file hardens around a weak first impression.
If you’re dealing with a steep, tall, or hard-to-document loss, Fox Claims Consultants LLC provides national property inspection support for roof damage claims, including ladder assist, storm and tree damage assessment, emergency tarping, photo documentation, and estimating support that helps carriers, adjusters, contractors, and property owners work from a clearer file.
Leave a Reply