
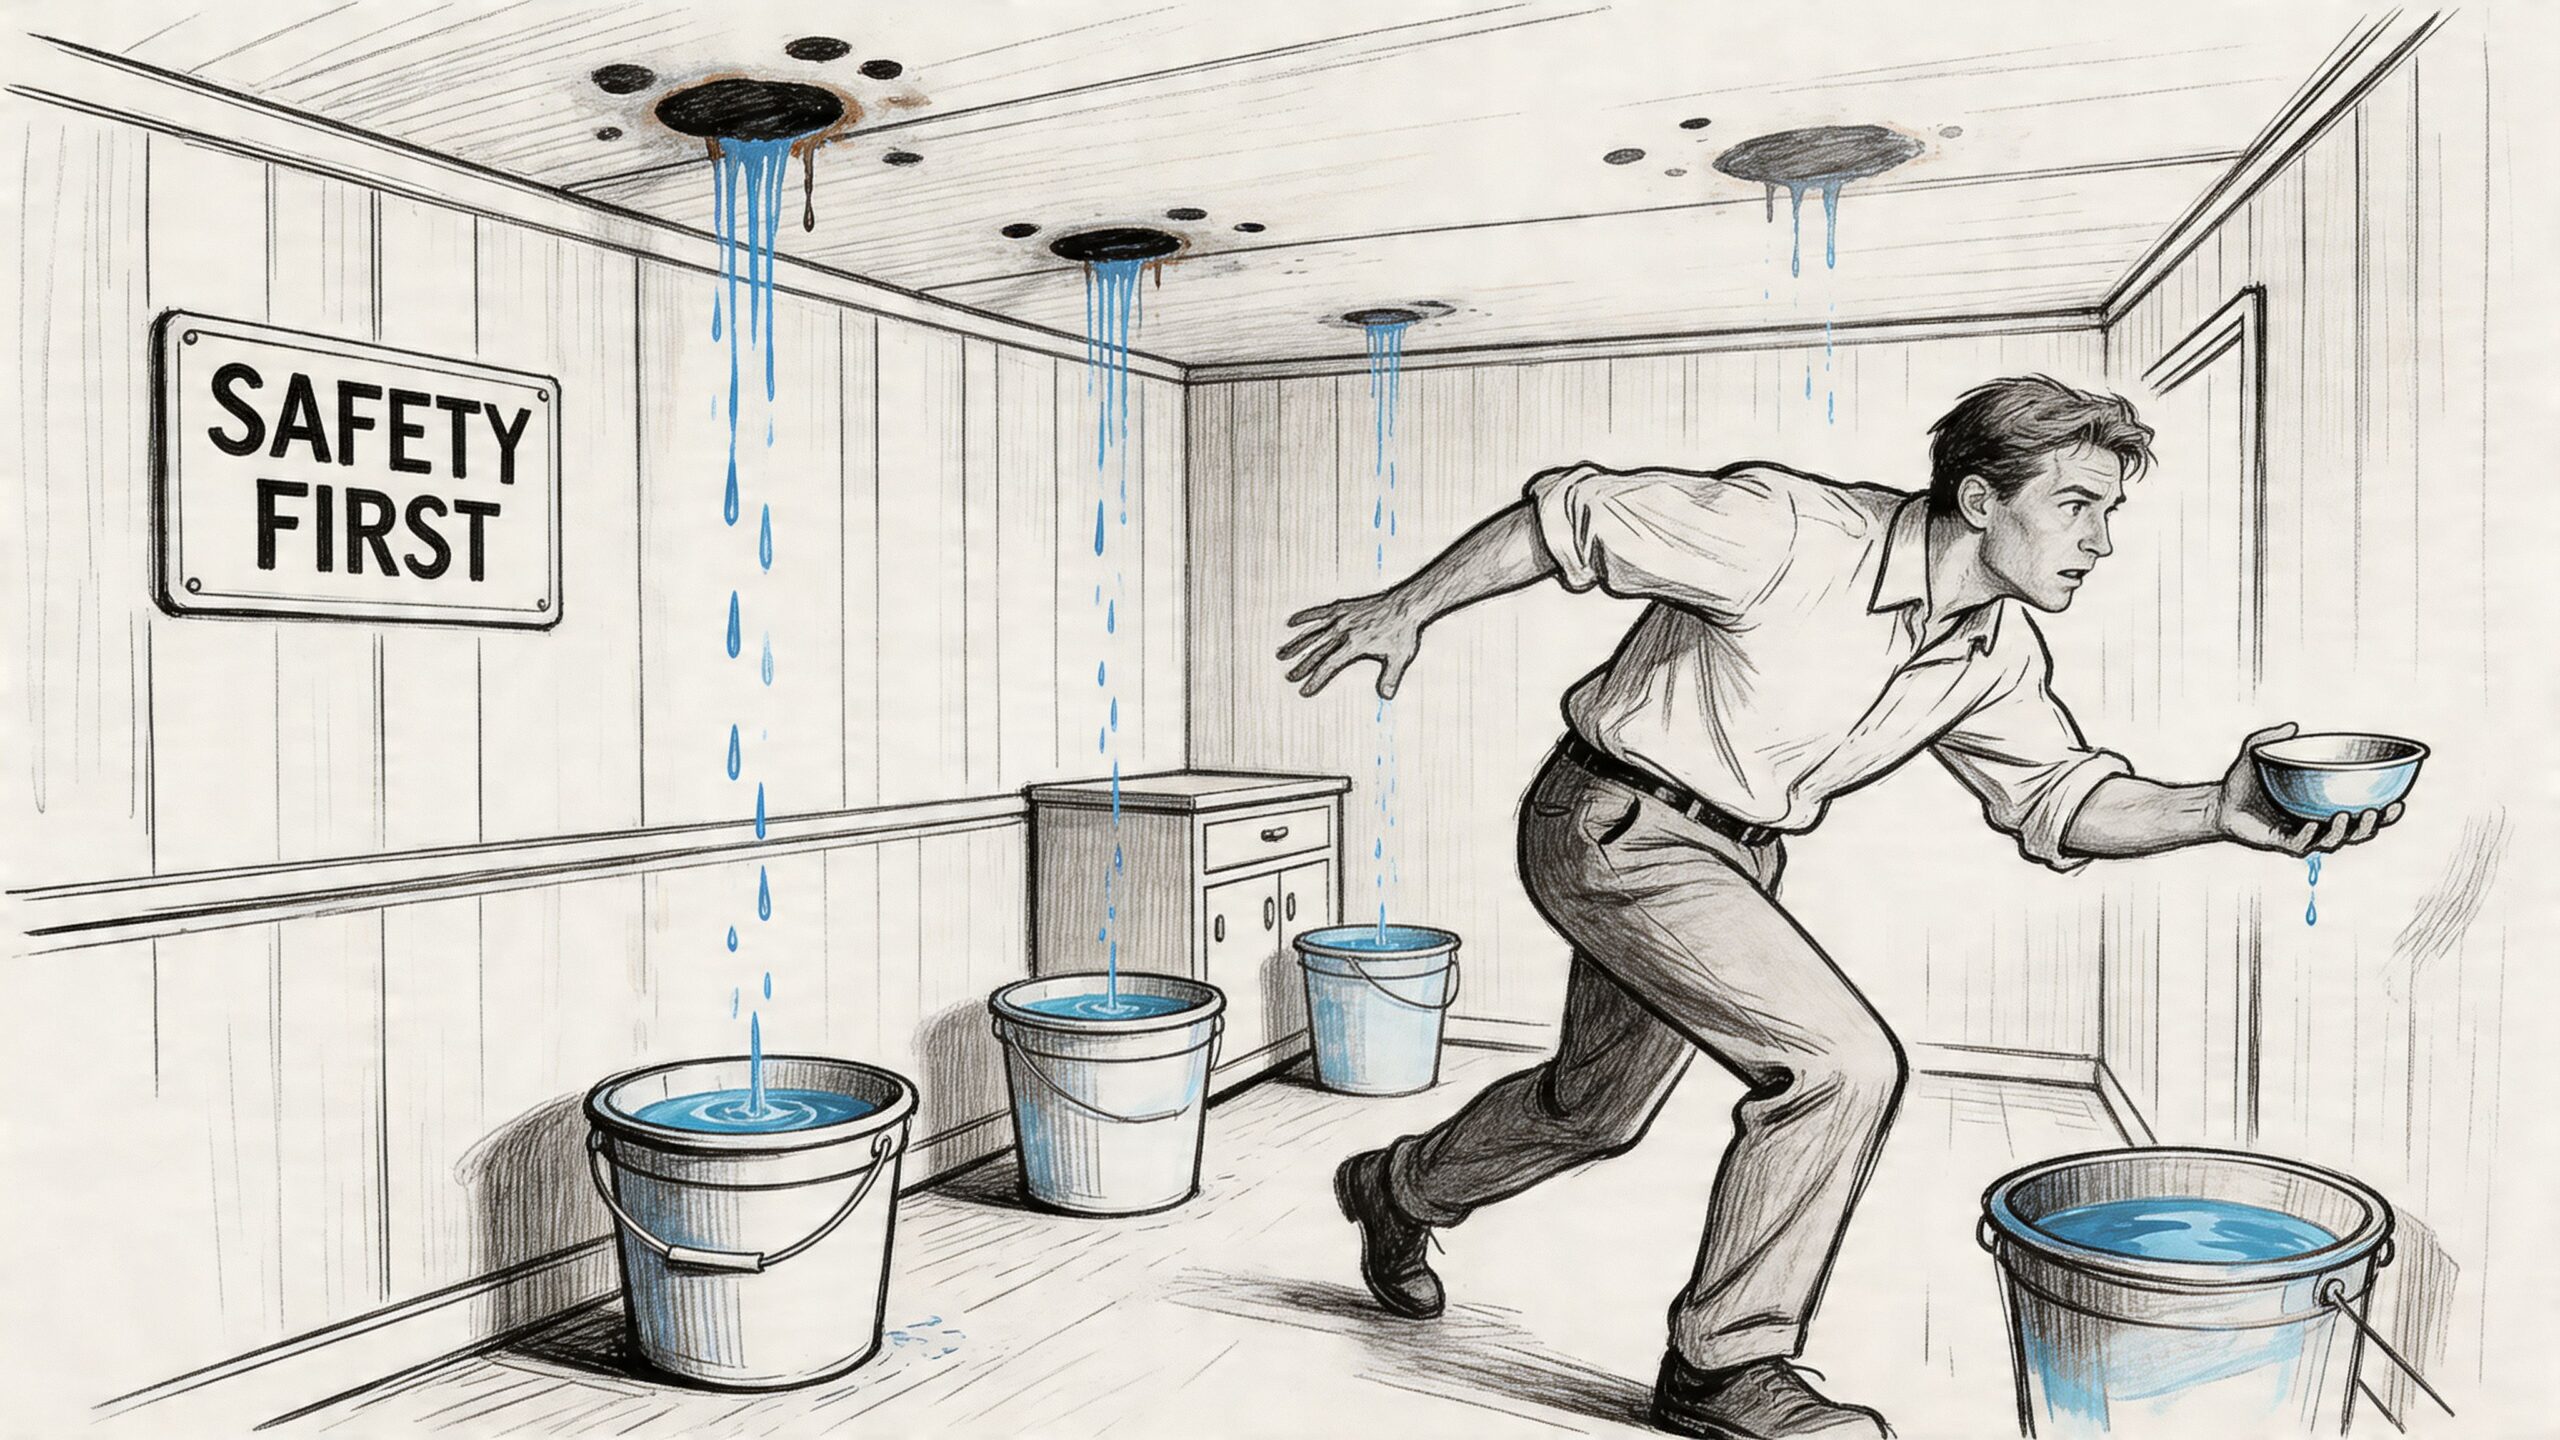
A leaking mobile home roof usually announces itself subtly. You hear a drip over the TV. You notice a brown ring on the ceiling panel. Maybe a wall seam looks swollen after a storm. By the time you see water indoors, the problem has already moved beyond the roof surface and into the part that gets expensive fast.
This isn’t rare. Roofing Contractor reported that leaks are the most prevalent roofing issue in America, affecting nearly 6 million homes nationwide. Mobile homes are more exposed to this problem because many use metal roof construction with screws attaching the roofing to heel plates, a design the same source notes is prone to leaks. That detail matters because the right response is not just “put some sealant on it.” It’s to stop active water, identify the actual entry point, choose a repair that fits the roof type, and document everything in a way that protects the property and the claim.
A lot of people lose time on the wrong task first. They start hunting for a tiny hole before they’ve stabilized the interior. Or they make a fast patch that hides the damage path and weakens the claim file later. Good roof leak management is more disciplined than that.
If you’re trying to protect flooring, insulation, ceiling panels, and your insurance position, start with containment and documentation. Keep absorbent materials ready, including simple cleanup items like streak-free microfiber towels for glass and interior surfaces, but don’t confuse cleanup with mitigation. Drying visible water is useful. Stopping additional water intrusion is the priority.
That Drip You Can’t Ignore
The first sign is often small. A ceiling stain near a light fixture. A soft panel seam. Water at the top of a window trim after rain. People want this to be a minor maintenance issue. Sometimes it is. Often it isn’t.
A leaking mobile home roof creates two problems at once. One is structural and interior damage. The other is decision pressure. You need to decide what you can safely assess yourself, what needs a professional roof inspection, and what must be documented immediately if an insurance claim may follow.
Why mobile home leaks get missed
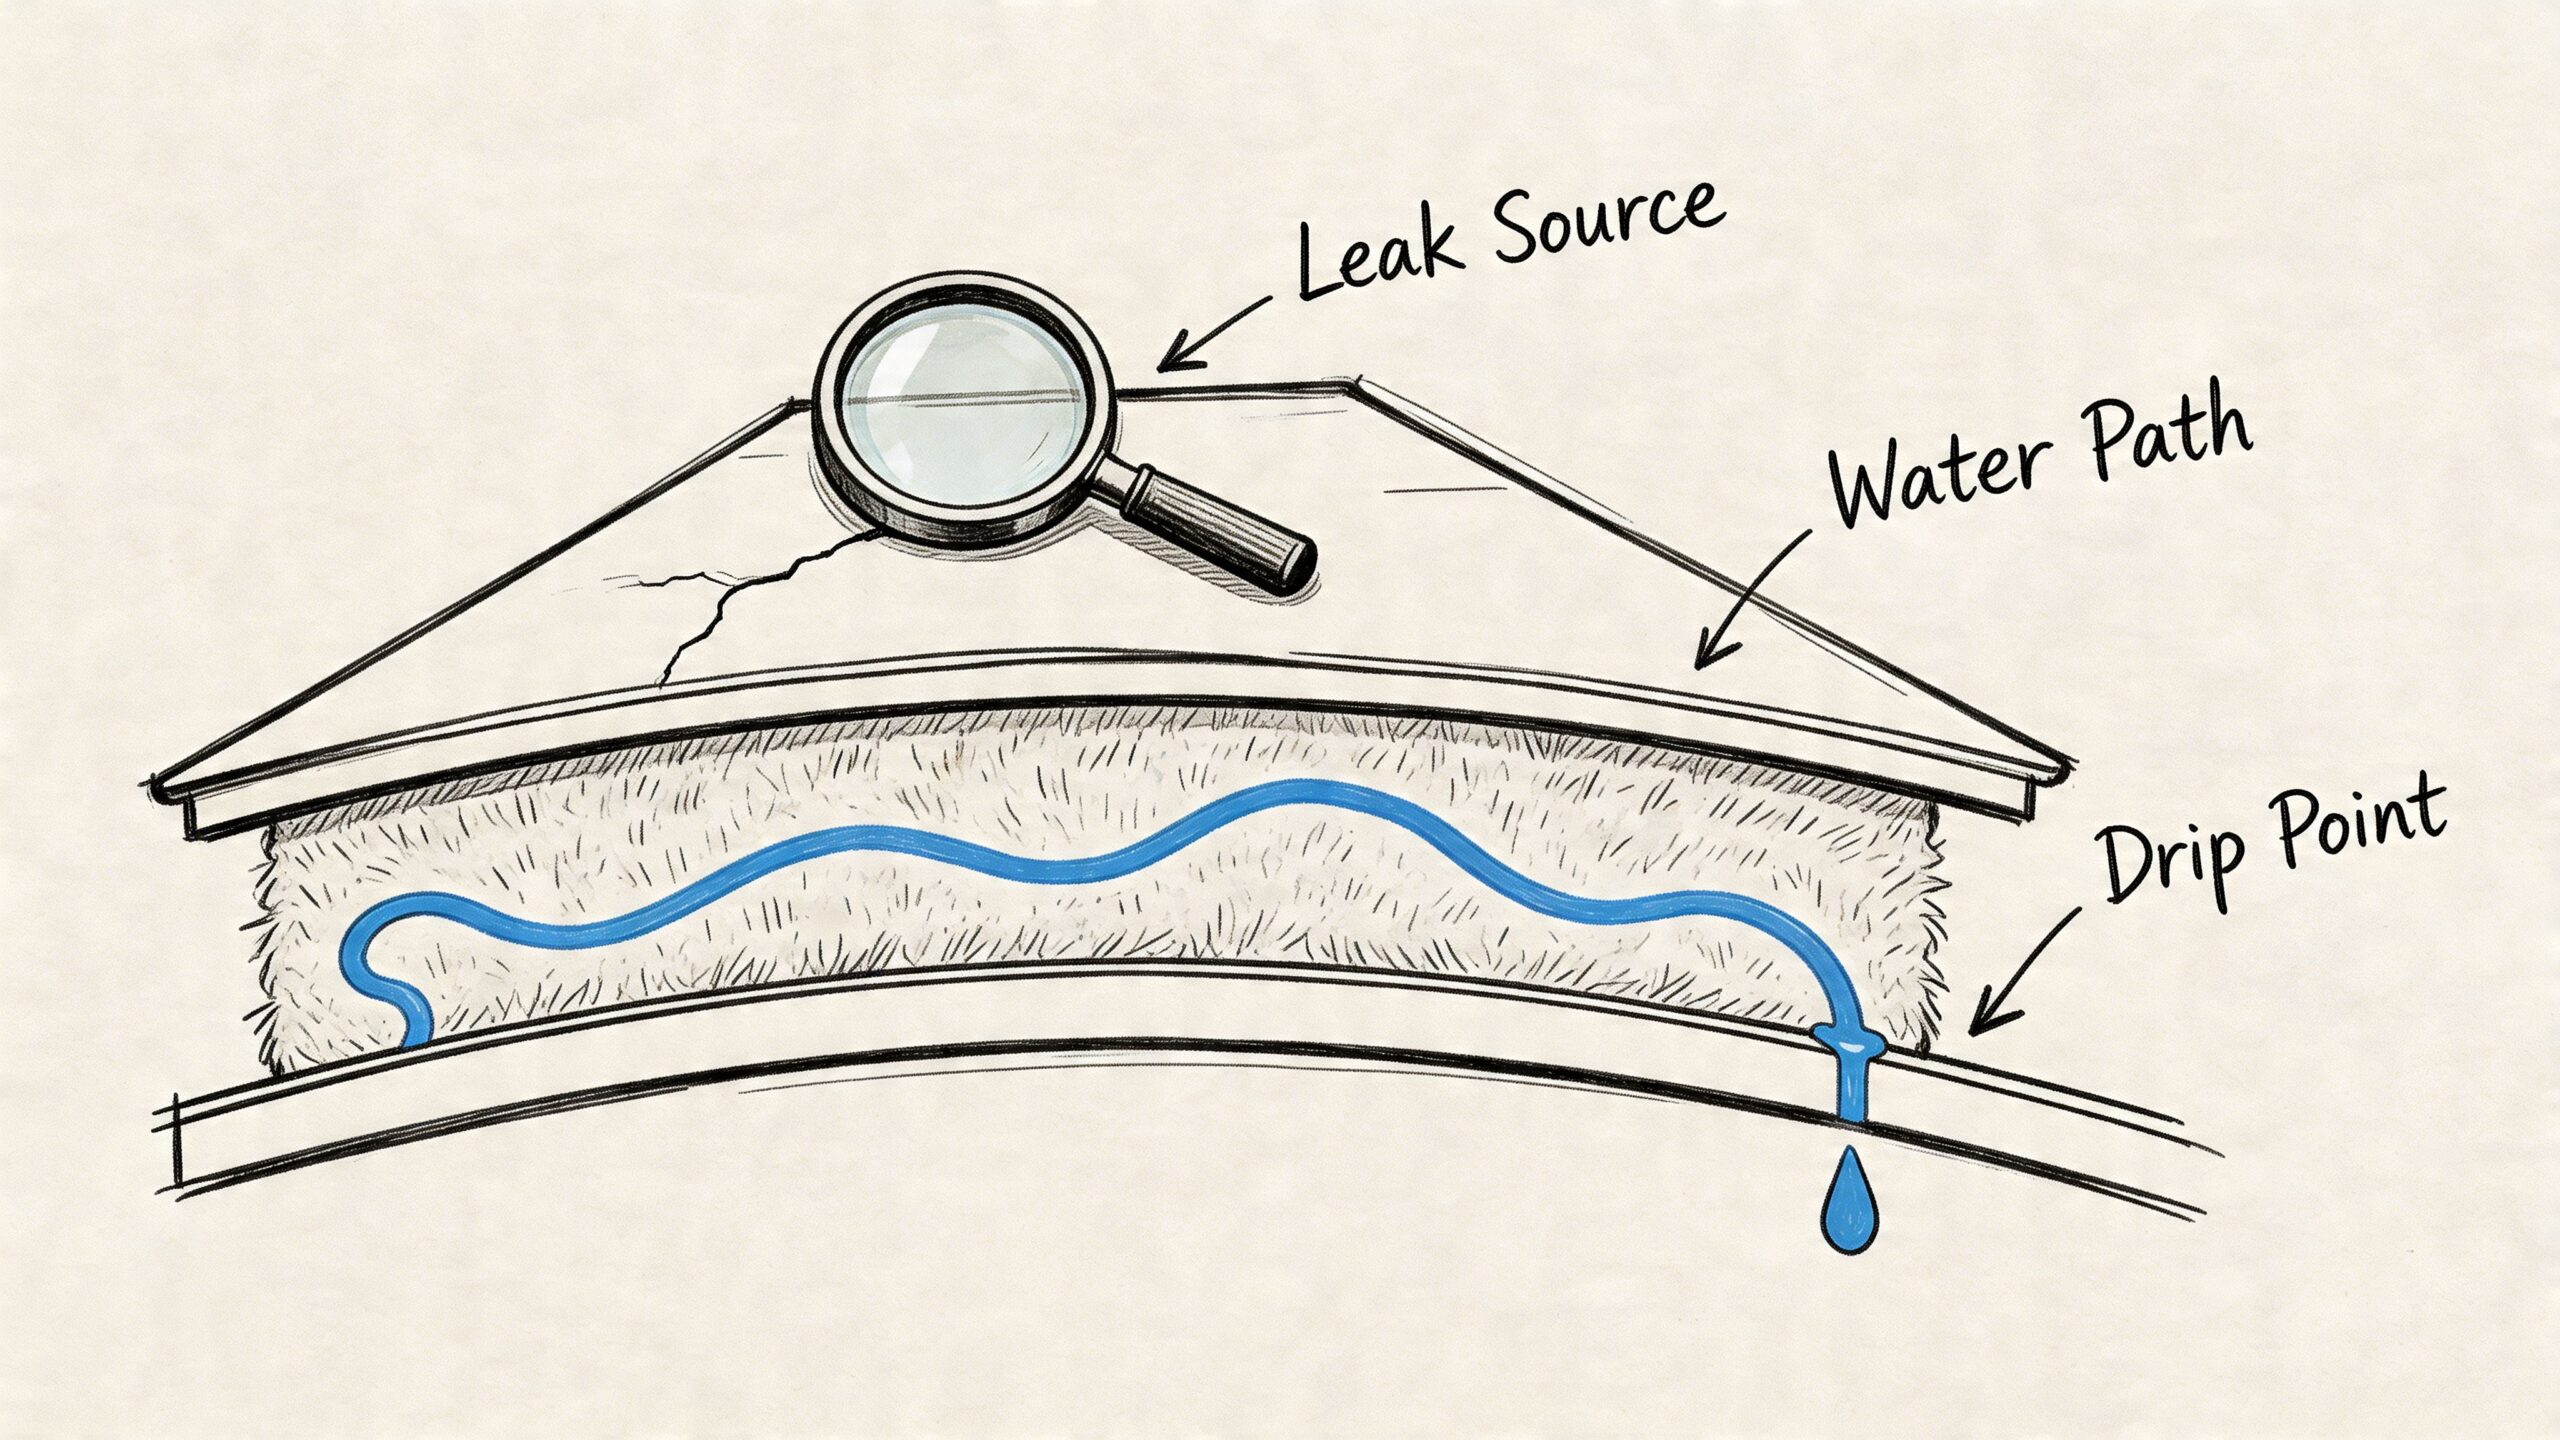
Mobile home roofs don’t always leak straight down. Water can enter at one seam, travel along framing or insulation, and appear far from the actual opening. That’s why many failed DIY repairs happen at the stain instead of at the source.
The practical mistake is assuming the ceiling spot is the roof opening. It usually isn’t a reliable map. It’s only a symptom.
A stain tells you where water stopped. It doesn’t tell you where water started.
The goal on day one
Think in this order:
- Protect people first. Water and electricity don’t mix. Wet floors and sagging ceiling panels create immediate hazards.
- Limit additional damage. Catch active drips, move contents, and prevent more water from entering if the roof can be safely secured.
- Preserve evidence. Before you tear into anything, photograph the conditions you found.
- Diagnose before you commit to a repair. The wrong patch can waste money and complicate a claim.
That sequence keeps you from turning a manageable loss into a larger one.
The First 48 Hours Emergency Response and Safety
The clock starts when water enters the home, not when you have time to deal with it. Angi notes that a leaking mobile home roof can escalate from minor infiltration to severe structural damage within 24-48 hours, and ceiling water damage can start at $350 and rise to $2,000 per incident. Those numbers are a good reminder that delay is expensive.
Start inside, not on the roof
If water is actively entering, deal with the interior hazards before anything else.
- Shut off power to the affected area if water is near fixtures or outlets. If you can’t safely isolate the area, call an electrician or emergency service provider before touching wet surfaces around electrical components.
- Catch and redirect water. Use buckets, storage bins, and towels. If a ceiling bulge is collecting water, don’t stand directly under it while assessing it.
- Move contents out of the drip path. Furniture, electronics, bedding, rugs, and boxed items absorb loss quickly.
- Protect flooring. Put plastic, towels, or trays under drip containers so overflow doesn’t spread the damage footprint.
Interior containment buys time. It does not solve the roof problem, but it can keep the claim from growing by the hour.
Check for ceiling failure risk
Mobile home ceiling assemblies can soften fast once insulation and panel materials get wet. Watch for sagging, bubbling, seams opening, or soft spots that flex when lightly pressed from a safe position.
Use common sense here. If the ceiling looks swollen or bowed, keep people clear of that room. A ceiling section that has absorbed water may let go without warning.
Practical rule: If you see active dripping and ceiling deformation together, treat that room as unstable until someone qualified evaluates it.
What you can do yourself in the first day
A homeowner or field adjuster can safely handle basic mitigation if roof access is not required or if the access is clearly safe. That usually means dry conditions, stable ladder footing, and a roof geometry that does not create a fall risk. If any of that is questionable, stop.
Reasonable first-day actions include:
- Document before cleanup. Take wide shots of the room, medium shots of affected surfaces, and close shots of staining, swelling, and damaged contents.
- Note the timeline. Write down when the leak was first noticed, whether it followed wind or hail, and whether the water was active or intermittent.
- Cover exposed personal property. Plastic sheeting is useful inside.
- Use a temporary cover only if you can do it safely. For some situations, even a heavy-duty waterproof utility cover used as a short-term shield over vulnerable contents or exterior equipment can help reduce secondary damage while proper mitigation is arranged.
Emergency tarping and when it makes sense
Emergency tarping is a mitigation step, not a final repair. Its purpose is simple. Keep additional water out until a proper inspection and repair can happen.
If the roof has visible storm damage, a puncture, lifted panel area, failed seam, or tree impact, a tarp can be the difference between a contained claim and a much larger interior loss. But tarping has to be done correctly.
A sound temporary tarp setup needs
- Coverage beyond the damaged area. The tarp has to extend past the suspected entry zone so wind-driven rain doesn’t get underneath.
- Secure attachment. Loose edges flap, tear, and can create more damage.
- Drainage awareness. Don’t trap water under the tarp or create a low spot where water will pool.
- Safe access. Wet metal mobile home roofs can be slick even when they look walkable.
When to stop and call for rapid professional help
There are situations where DIY action becomes a liability.
Stop if you have:
- A wet metal roof
- A steep or awkward roof edge
- Storm debris still on the roof
- Overhead service lines nearby
- A tree strike or structural distortion
- Multiple leak points
- A ceiling that looks close to collapse
The first 48 hours are about disciplined mitigation. Not bravery. Not improvisation. If there’s any question about access, secure the interior, continue documentation, and get qualified help on site.
Playing Detective How to Find the Real Leak Source
Finding the actual entry point is where mobile home leaks separate experienced inspectors from guesswork. Foremost puts it plainly: mobile home roof leaks are “rarely that easy to find” because “the hole in the roof is not even close to the stain in the ceiling”. That’s the central challenge with a leaking mobile home roof. Flat and bowed roof designs let water travel before it drops.
Start with a ground-level exterior read
Before anyone climbs, work the building perimeter.
Look for the clues that often line up with water entry:
- Trim and edge issues along roof perimeters
- Sagging or ponding indicators on flat or bowed sections
- Damaged vent or pipe penetrations
- Loose metal panels or lifted seams
- Rust staining, especially below fastener lines
- Tree contact points and branch scrape marks
- Debris dams where water may back up
Binoculars help. So does early or late daylight, which makes surface irregularities easier to spot. A compact UV inspection light can also help inside when tracing residue or prior repair materials, but it won’t replace a proper moisture-path investigation.
Read the interior like a map
Inside the home, don’t just look at the stain. Look uphill from it in terms of framing direction and likely water travel. If there is attic or cavity access, inspect carefully for:
- wet insulation
- darkened wood
- drip marks on framing members
- rusted fasteners
- previous patch evidence
- staining around vents, flues, or ceiling penetrations
A leak path often leaves a trail. It may be faint, but it is usually there. Water follows surfaces, fasteners, and low points.
Don’t trust the biggest stain. Trust the highest credible sign of movement.
Common leak sources on mobile home roofs
Some failure points show up repeatedly.
Seams and old sealant
Many mobile home roofs depend on seams, lap joints, and sealant continuity. Once sealant dries out, cracks, or separates from the substrate, water starts migrating under the system.
Fasteners and screw penetrations
Metal mobile home roofs often rely on exposed fasteners. Over time, movement, weather, and aging washers can open a path at the screw location.
Vents, pipe boots, and flashing
Penetrations are classic leak points because they interrupt the field of the roof. A tiny gap around flashing can leak for a long time before anyone notices.
Ponding and travel on low-slope surfaces
Flat or bowed roofs invite one stubborn issue. Water sits. Once standing water finds a weakness, it can move laterally before showing itself indoors.
A good visual example helps here:
DIY assessment versus professional diagnosis
A homeowner can identify obvious exterior damage and visible interior symptoms. That’s useful. It is not the same as proving the source.
A professional inspection becomes the better option when:
- the leak appears far from any obvious roof defect
- there are multiple stains
- prior repairs are already present
- the roof has mixed materials or add-ons
- the source may affect claim causation
- the roof is unsafe to access
Professionals approach these leaks methodically. They inspect seams, transitions, fasteners, penetrations, drainage patterns, and prior repair zones in relation to the interior damage. They also document what they do not see, which is just as important in a claim file as what they do see.
A simple field sequence that works
Use this order if you’re trying to narrow down the source without creating more damage:
- Pinpoint interior origin indicators. Start at the highest visible sign inside.
- Match the likely roof zone above it. Account for travel, not just vertical alignment.
- Inspect penetrations and seams first. They fail more predictably than open field areas.
- Check for old repairs. Fresh sealant over old failure points often hides repeated leakage.
- Only then consider a water test. Controlled testing belongs in experienced hands because bad testing can spread the loss and muddy the evidence.
This is detective work, not guesswork. The better your diagnosis, the better your repair choice and the cleaner your claim outcome.
Choosing Your Repair From Patch to Permanent Solution
Once you know where the water is getting in, the repair decision becomes a cost and risk decision. The goal is to stop current leakage, avoid trapping hidden damage, and choose a fix you can defend to a contractor, an adjuster, or yourself six months from now.
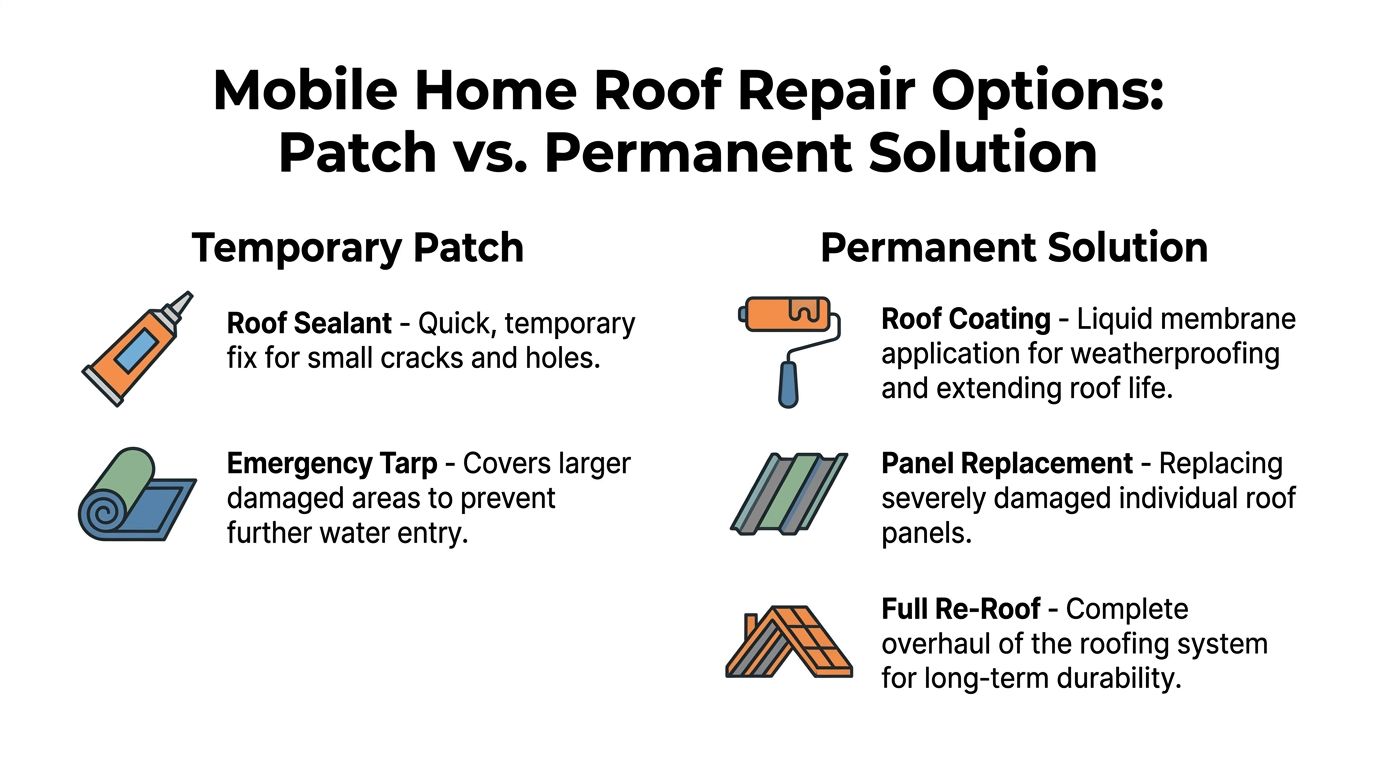
A temporary patch buys time. A permanent repair restores service life. Those are different jobs, and mixing them up is where owners waste money.
Temporary patch versus durable repair
Use a temporary repair when weather, access, or claim timing prevents proper work. Use it to limit additional damage, not to declare the roof fixed.
Common short-term measures include:
- Roof sealant over a small isolated opening
- Peel-and-stick patch material over a localized defect
- A properly secured tarp over a damaged section
These methods can work for a short window if the surface is dry enough, stable enough, and clean enough to hold material. They fail quickly on wet roofs, oxidized metal, loose panels, or areas that flex underfoot. I see plenty of patches that bonded to the sealant tube instructions but never bonded to the roof.
Repeated spot repairs usually mean the roof system has moved past isolated failure.
Where coating systems make sense
For many older flat or bowed mobile home roofs, a coating system can be the middle option between chasing leaks and paying for a full replacement. Farpon Insurance describes liquid TPO roof coating as a repair option with multi-year service potential when it is installed over a properly prepared roof surface.
Preparation determines whether that money is well spent.
A coating system needs sound substrate, compatible materials, and careful prep at seams, penetrations, fasteners, and prior repair areas. Failed coating, dirt, rust scale, oils, and moisture have to be dealt with before new material goes down. If sanding is part of that prep, the abrasive has to match the roof material and the coating manufacturer’s instructions. Even basic prep supplies such as P220 hook-and-loop sanding discs for coating surface preparation can have a place in the process, but only within the system the installer is following.
A coating is a good candidate when the roof is broadly weathered but still structurally serviceable. It is a poor candidate when decking is soft, metal has widespread perforation, or movement at seams keeps breaking the surface.
EPDM membrane repairs on thin metal roofs
Some thin metal roofs need a field repair that covers and isolates the problem area rather than trying to chase every individual defect. In those cases, an EPDM membrane repair can make sense.
Field methods for this type of work may include adding plywood over the roof surface at rafter lines, cutting insulation back to expose clean metal edges, removing failed caulk and oxidation, stretching membrane across the repair area, and securing edges with termination bars before sealing the transitions. This is skilled work. Material compatibility, attachment method, edge detail, and moisture conditions all matter.
Choose this route when the roof can support the assembly and the repair area is large enough that patching each defect separately stops making financial sense.
When panel replacement is the smarter call
Panel or component replacement is often the cleaner answer when the damage is local. A punctured panel, a rusted section around one penetration, or a failed vent boot with sound surrounding metal can often be corrected without coating the whole roof.
The key word is local.
One new panel installed into a roof with failing seams, scattered corrosion, and multiple prior patches does not solve the underlying problem. It only moves the next leak to a different spot. From a claim standpoint, targeted replacement is easier to support when photos show confined damage and stable adjacent materials.
Full re-roof and why it’s not always overkill
A full re-roof is justified when repair work turns into repeated triage. Widespread rust, soft decking, chronic leaks, failing seams across multiple sections, sagging, or layers of old patch material usually point in that direction.
The upfront cost is higher. The decision is still often the cheaper one over time.
Owners sometimes resist replacement because one leak feels small. The roof condition is what matters, not the size of the stain that finally showed up indoors. If the system is spent, another patch only delays a larger bill and weakens the documentation trail when future damage occurs.
Mobile Home Roof Repair Options Compared
| Repair Method | Average Cost | Expected Lifespan | Best For |
|---|---|---|---|
| Temporary sealant patch | Varies by material and labor | Short-term only | Small isolated openings while planning a proper repair |
| Emergency tarp | Varies by roof size and access | Short-term only | Immediate loss mitigation after storm or impact damage |
| Liquid TPO roof coating | Varies by roof size, prep, and labor | Multi-year service life when properly applied | Flat or bowed roofs with broad weathering but repairable substrate |
| Panel or component replacement | Varies by component and labor | Depends on surrounding roof condition | Localized physical damage with otherwise serviceable roof sections |
| EPDM membrane repair | Varies by roof condition and installation complexity | Longer-term when professionally installed | Thin metal roofs needing a more durable waterproof field repair |
| Full re-roof | Varies widely by material, size, and structure | Long-term solution | Widespread deterioration or repeated leak history |
What usually does not work
Bad repair outcomes usually start with a shortcut.
Avoid these mistakes:
- Smearing new sealant over dirt or oxidation
- Repairing the visible hole while missing the failed seam or penetration above it
- Applying coating over damp substrate
- Ignoring ponding or poor drainage
- Mixing incompatible materials without a defined system
- Treating repeat leaks as separate incidents instead of evidence of broader roof failure
Choose the repair that fits the roof’s actual condition, the remaining service life, and the documentation needs of the claim. That is how you avoid paying twice for the same leak.
Navigating the Insurance Claim With Confidence
A roof leak claim succeeds or struggles on documentation. The carrier needs to understand what happened, where the water entered, what it damaged, what was done to mitigate additional loss, and whether the condition appears sudden or tied to longer-term deterioration.
That distinction matters because deferred maintenance on a mobile home roof can lead to compounding structural damage and insurance complications, and without baseline documentation and clear cause identification, carriers may have trouble separating new damage from pre-existing wear.
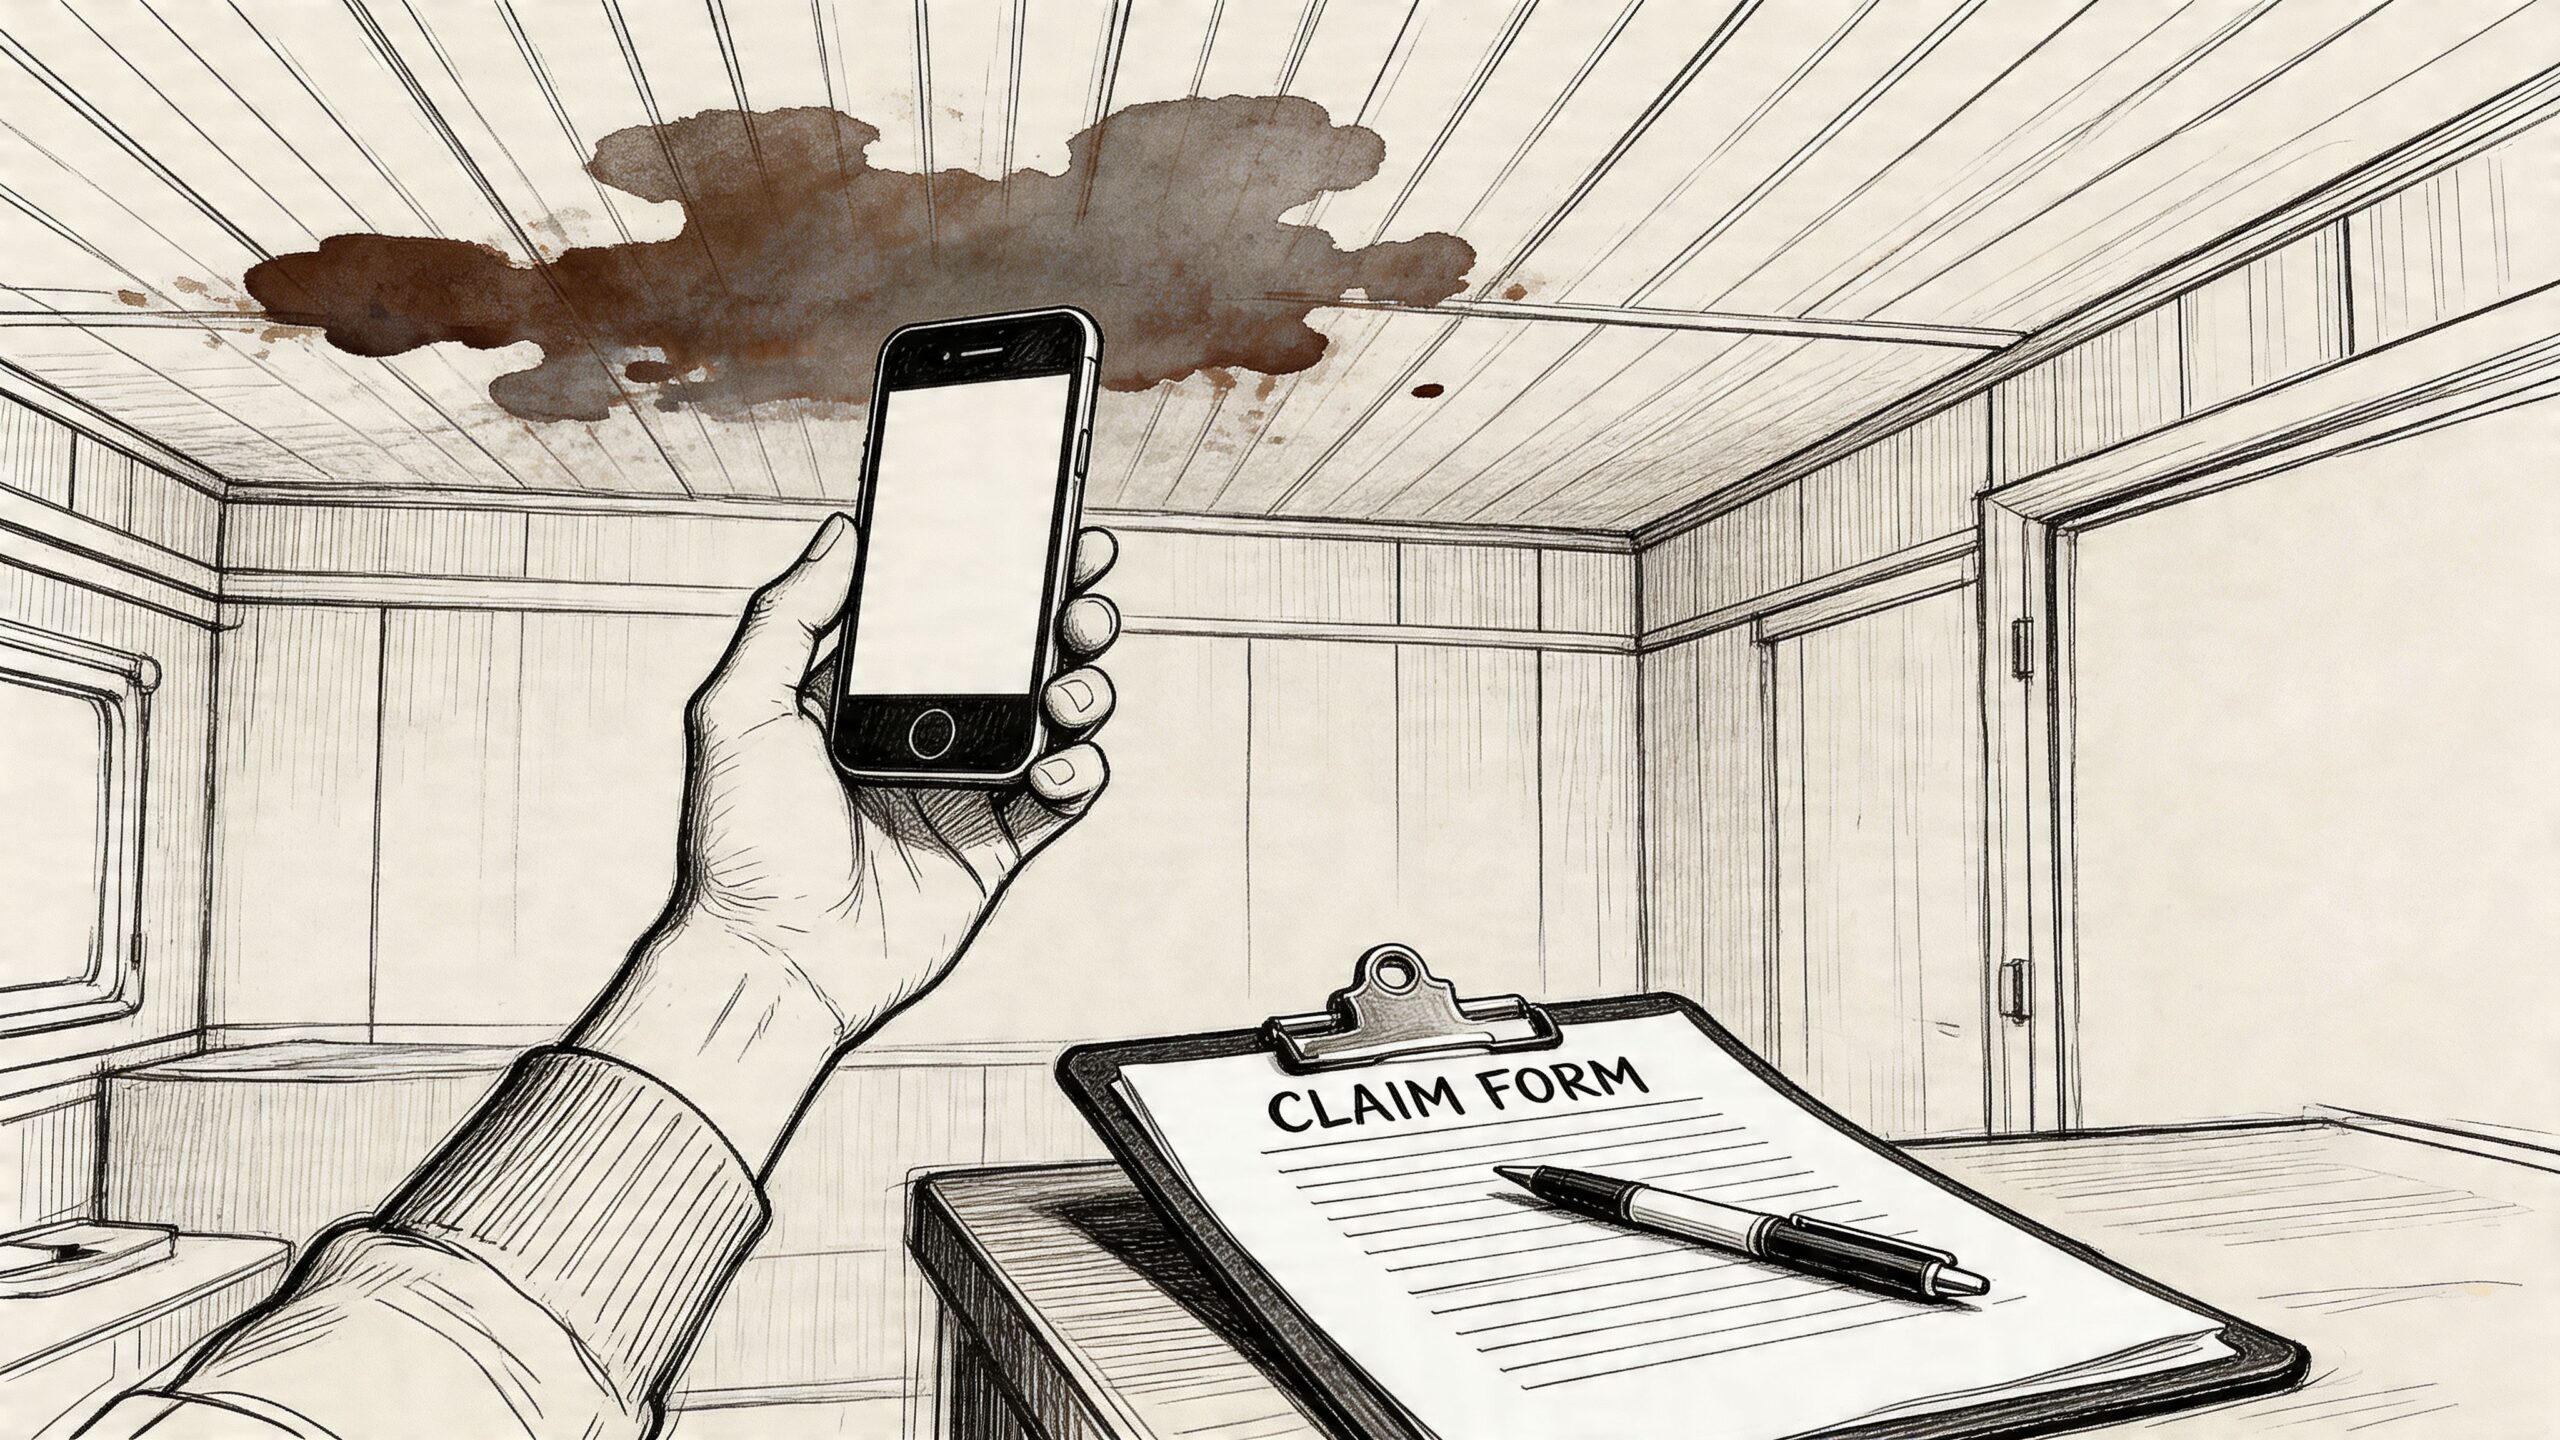
What to photograph right away
Most weak claim files suffer from missing context. People take one close-up of a stain and think that proves the loss. It doesn’t.
Build the photo set in layers.
Wide context photos
Take clear shots of:
- each affected room
- the ceiling and adjacent walls together
- flooring beneath the leak
- any affected furniture or contents
- the exterior elevation tied to the leak area
These show location and scope.
Medium-range condition photos
Capture:
- water staining
- bubbling or sagging panels
- trim damage
- wet insulation if visible
- roof penetrations or suspect exterior areas from a safe vantage point
These connect the room-level damage to the building components.
Detail photos
Take close-ups of:
- active drips
- split seams
- cracked sealant
- rust
- damaged vent flashing
- temporary mitigation like tarps or interior containment
These establish mechanism and response.
What to write down while the facts are fresh
A written log adds the sequence that photos can’t fully capture.
Include:
- Date and time first observed
- Weather conditions or recent storm activity
- Location of first visible damage
- Whether dripping was active, intermittent, or discovered after the fact
- Actions taken to stop further damage
- Who was contacted and when
- Any history of prior repairs in the same area
If you don’t know something, don’t guess. Write what you observed. Claims get stronger when the file stays factual.
A clean claim file is built on observations, not theories.
The baseline condition problem
Many mobile home claims turn on one hard question. Is this new damage, old damage, or a mix?
That’s why prior roof photos, maintenance records, invoices, and inspection notes matter so much. If there was an older patch in the same zone, that does not automatically defeat a claim. But it does mean the new loss has to be documented carefully so the cause and extent can be separated.
What adjusters and policyholders both need
The strongest documentation package usually includes four things working together:
A visual chronology
Before mitigation, during mitigation, and after temporary stabilization.A location map
Mark the room, the suspected roof area, and any related exterior features.Damage detail tied to components
Not just “bedroom leak,” but ceiling panel seam failure, insulation wetting, wall staining, flooring exposure, and any affected personal property.A professional inspection report
Especially when the source is not obvious, the roof is unsafe to access, or causation is likely to be disputed.
Why third-party roof inspection reports carry weight
A solid roof inspection report should do more than say “roof leaking.” It should identify observed conditions, likely entry points, relevant limitations, mitigation performed, and the relationship between exterior findings and interior damage.
For carriers, that reduces guesswork. For homeowners, it creates a more organized path through the claim. For desk adjusters, it shortens the back-and-forth that happens when the initial submission lacks usable evidence.
Mistakes that weaken a claim
These are the common avoidable ones:
- Throwing away damaged material before photographing it
- Making repairs before documenting pre-repair conditions
- Failing to show the exterior area related to interior damage
- Using vague descriptions like “roof bad” or “water everywhere”
- Waiting too long to report the loss
- Mixing maintenance issues and sudden damage without separating them clearly
You don’t need a dramatic story. You need an organized record. The claim should read like a field file, not a complaint.
Frequently Asked Questions About Mobile Home Roofs
Can I just keep patching a leaking mobile home roof?
You can patch it temporarily. You shouldn’t rely on repeated patching as a long-term plan if the roof has recurring leaks, old repairs, or widespread wear.
A single isolated opening after a storm is one thing. Multiple leaks over time usually mean the roof system is aging out, the seams and penetrations are failing in more than one place, or the substrate is already compromised. In those cases, one more patch often delays the proper repair while interior damage continues unnoticed.
Are mobile home roof leaks harder to trace than house roof leaks?
Often, yes. Water on mobile home roofs can travel across low-slope surfaces, under seams, or along framing before it appears inside. That makes the ceiling stain a poor indicator of the actual entry point.
That’s why good leak diagnosis starts with pattern reading, not random sealing. The farther water can travel, the more careful the inspection has to be.
Is a flat roof always worse than a bowed roof?
Not automatically. The main issue is drainage and condition, not just shape.
A flat roof with a sound coating or membrane and good maintenance can perform well. A bowed roof with failed seams and neglected penetrations can leak badly. Shape changes how water behaves, but condition determines whether the roof keeps water out.
Should I walk the roof myself to inspect it?
Only if access is safe and you know what you’re looking at. Wet metal, soft decking, storm debris, and low-slope surfaces with slick coatings create real fall hazards.
For many owners, a ground-level assessment with binoculars is the right first move. If the roof is questionable, unstable, or recently storm-damaged, leave on-roof inspection to qualified personnel.
What’s the best permanent repair for an older mobile home roof?
There isn’t one answer for every home. The right repair depends on whether the roof has localized damage or broad system failure.
Common outcomes look like this:
- Localized defect with sound surrounding material often points to component replacement or a targeted professional repair.
- Broad weathering on a repairable flat or bowed roof may support a roof coating system.
- Widespread failure, repeated leaks, or structural deterioration often pushes the decision toward a full re-roof.
The mistake is choosing the smallest repair because it’s the easiest to approve today, even though it won’t hold through the next season.
Does a leak always mean the whole roof needs replacement?
No. Some leaks come from one failed penetration, one seam, or one damaged panel. Those can sometimes be repaired without replacing the entire roof.
But if the leak is only the first visible symptom of deeper roof fatigue, replacement becomes a practical decision, not an extreme one. The roof should be judged as a system.
What should be in a good mobile home roof inspection report?
A usable report should be specific enough that someone who was not on site can understand the condition and the likely path of water intrusion.
Look for these components:
Property and inspection identifiers
Address, date, inspector identity, weather conditions, and access limitations.Roof description
Roof type, visible materials, slope profile, and any notable add-ons or transitions.Observed damage and condition notes
Seam condition, fasteners, flashing, penetrations, ponding indicators, rust, prior repairs, and visible wear.Interior correlation
The relationship between exterior findings and interior staining or water damage.Photo set with captions
Not just photos dumped into a file. Captions matter.Mitigation status
Whether tarping or temporary repairs were in place and what remained exposed.Scope implications
Whether conditions support targeted repair, broader restoration, or further invasive investigation.
How do I keep a leak from turning into a claim dispute?
Document early. Document before repair. Separate old wear from new damage as clearly as possible.
It also helps to keep maintenance records, prior roof invoices, and date-stamped photos of the home when it was dry and serviceable. Even simple property records matter. Some owners keep housing and equipment paperwork together with utility and RV-style accessory records such as convoluted waste water hose replacement parts. The principle is the same for roofing. Organized records make later decisions easier.
What should homeowners and adjusters do differently on mobile home roof losses?
Homeowners should focus on safe mitigation, clean documentation, and resisting the urge to make undocumented permanent repairs too soon.
Adjusters should expect leak travel, inspect for prior repairs, correlate interior and exterior carefully, and avoid assuming the nearest roof defect is the source. Mobile home losses reward methodical inspection more than fast assumptions.
If you need a clear path from active leak to documented claim, Fox Claims Consultants LLC provides national property inspection support for difficult roofs, storm damage assessments, ladder assist, emergency tarping, and detailed field documentation. Their certified inspectors help carriers, adjusters, and property owners stabilize the site, record conditions accurately, and move roof leak claims forward with less guesswork.
Leave a Reply