
The call usually comes after a long night. Wind moved through a neighborhood, hail hit hard, a tree came down, or water found its way inside before anyone could stop it. By morning, the policyholder wants answers, the desk adjuster needs usable field evidence, and the carrier needs a claim file that can move without guesswork.
That is where an on site inspection earns its value. In storm work, especially on steep roofs and taller structures, the inspection is not a routine stop. It is the moment the claim either starts getting clearer or starts getting delayed. Speed matters, but speed without defensible documentation creates reinspection, scope disputes, and bad decisions. Accuracy matters, but accuracy without a safe field process can stall the claim before it ever gets off the ground.
The strongest inspection teams treat safety, documentation, and field judgment as one system. When that system works, the desk gets clean photos, direct observations, cause-and-effect notes, and a report that can support estimating and next-step decisions. When it does not, everyone spends more time chasing missing details than resolving the loss.
What an On-Site Inspection Really Means for Your Claim
A steep roof after a wind and hail event creates pressure fast. Water may already be tracking past a lifted shingle tab. The homeowner wants a clear answer that day, not a week from now. The adjuster needs field evidence that can support a decision without sending someone back to verify what should have been captured the first time.
An on site inspection turns that pressure into a record the claim can use.
What each party needs from the field
The policyholder needs practical answers. What is damaged, what needs immediate protection, and what can wait until the scope is confirmed.
The desk adjuster needs specifics, not broad conclusions. “Storm damage present” does not help much on its own. The file has to show where the condition was found, what material was affected, how access was handled, what was observed inside, and whether the photo set supports the written notes.
The carrier needs a file that holds up under review. That means the inspection has to address cause, extent, and impact with enough detail to support coverage and estimating. If the roof has lifted shingles, the report should identify slope and location, note how the condition was documented, and show whether interior staining or other exterior indicators support the same loss pattern.
The field visit sets the quality of the claim file
A weak inspection usually creates the same problems. Questions come back from the desk. Temporary repairs get delayed or documented poorly. A second inspection gets assigned because the first one did not capture enough usable evidence.
A disciplined inspection gives the claim a clean starting point. It reduces avoidable handoffs and helps everyone work from the same facts.
Key takeaway: The field visit creates the record that coverage, estimating, and next-step decisions depend on.
Why the stakes rise on steep roofs and storm-damaged properties
High-risk losses change the job. On a steep roof or a structure with compromised elevations, speed cannot come at the expense of control. Inspectors may need to confirm some conditions from the ground, from ladder line observations, or with aerial support because the safest path is not always full foot access.
That trade-off is part of professional field work. Accuracy depends on matching the inspection method to the site conditions. At Fox Claims, we build the inspection around that reality so the file still moves quickly: safe access planning, clear photo sequencing, close-up material review, and documentation that explains what was observed directly versus what was confirmed through tools such as a field magnifier for shingle and material inspection.
When that process is handled well, the claim moves with fewer assumptions, fewer return trips, and fewer disputes about what the field team observed.
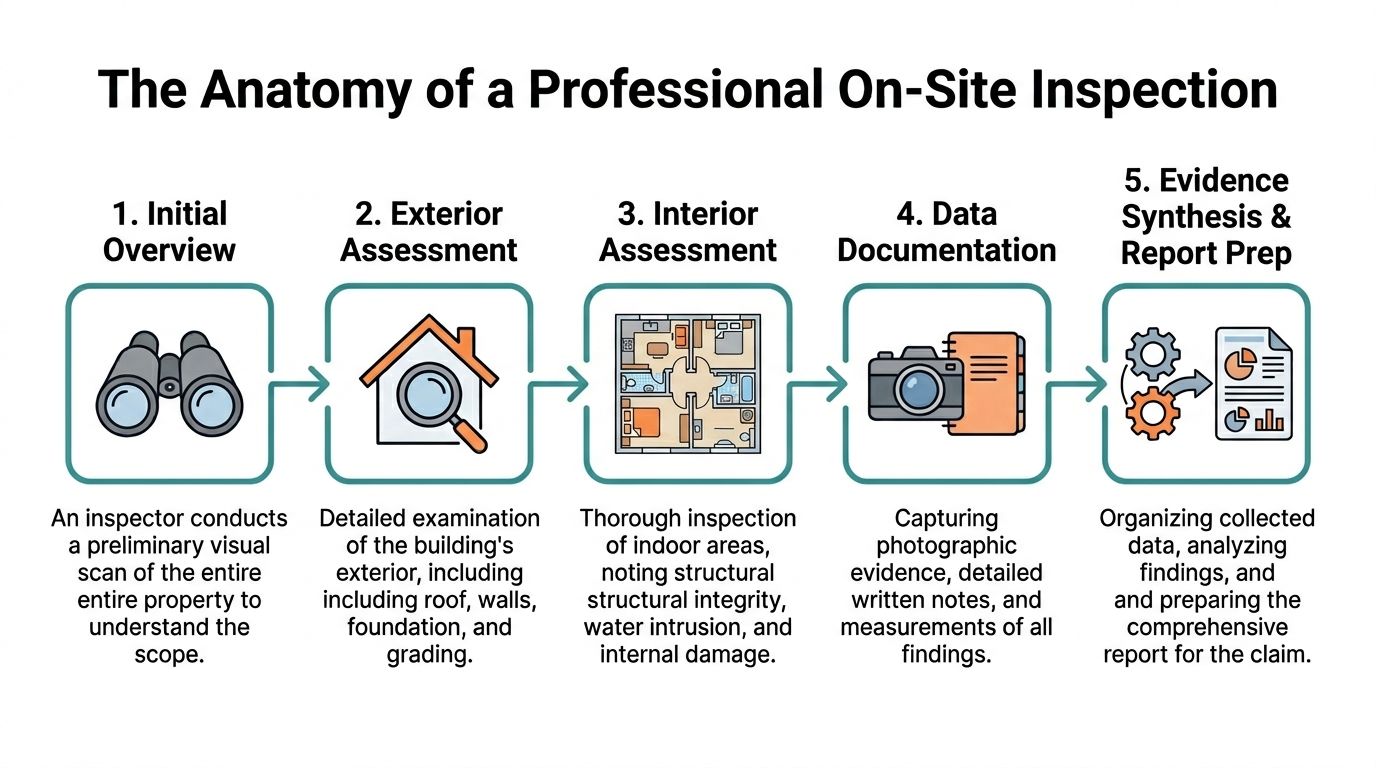
The Anatomy of a Professional Inspection
A professional on site inspection follows a sequence. Not because inspectors like checklists for their own sake, but because storm evidence makes more sense when you build it in layers. We treat the site like a fact pattern. Exterior clues support roof findings. Roof findings support interior moisture paths. Interior conditions can confirm or challenge the first impression.
Start with the full exterior, not the roof
The first mistake inexperienced inspectors make is climbing too early.
A proper inspection starts with a 360-degree exterior walk-around. That is where we look for displaced shingles on the ground, downspout damage, soft metal impacts, fence damage, broken screens, tree strike evidence, siding fractures, window bead damage, and drainage issues. Those details help establish how the storm interacted with the structure.
This pass also tells us where the roof system is most likely to show meaningful evidence. North and west slopes may present differently than sheltered elevations. Valleys, ridges, and transitions often show stress first.
Then evaluate the roof system as a system
The roof is not one surface. It is a set of connected components that fail in different ways.
During thorough post-storm inspections on steep and tall roofs, certified inspectors typically follow a structured process that includes the exterior walk-around, attic checks, and leak testing. They look for subtle indicators such as shingle lifting at edges and valleys, where wind uplift can exceed adhesive bond strength, and granule accumulation in gutters that can signal hail abrasion. Attic inspections can reveal dark streaks on rafters or soaked insulation, and brown rings appearing within 24 hours can help connect leakage to a recent event rather than long-term neglect (roof storm damage assessment details).
That matters because a good roof report does not just say “damage observed.” It separates likely storm-created conditions from common look-alikes.
What storm damage tends to look like
- Wind-related indicators: Creased tabs, lifted edges, displaced or missing shingles, bent flashing, opened seals near ridges and valleys.
- Hail-related indicators: Directional impact evidence, fresh granule loss in a pattern that matches collateral hits, bruising or fractures on susceptible materials.
- Tree-related indicators: Point-load damage, punctures, sheared ridge components, broken decking indications, crushed gutters.
What often gets confused with storm damage
- Thermal or age-related wear: Random granule loss, brittle edges, uniform aging across all slopes.
- Mechanical damage: Footfall scuffs, tool marks, dragged ladder damage.
- Manufacturing issues: Repeating defects that do not align with storm direction or collateral evidence.
A practical benchmark is whether the evidence tells one consistent story. If the pattern is random, unsupported, or isolated to foot traffic areas, the inspector should say so.
Finish inside, where the roof either proves itself or does not
Interior inspection is where many weak reports fall apart. If water entered, the question is not merely whether staining exists. The question is whether the moisture path, location, and timing support the exterior findings.
We check attic spaces, upper ceilings, wall transitions, insulation condition, and ventilation-related conditions that could mimic a leak. Sometimes the roof looks rough but the interior evidence points elsewhere. Other times a seemingly minor lifted area explains a very active interior leak.
Practical tip: A field report should connect exterior observations to interior consequences. If that link is missing, the desk side usually has to ask for more.
For close-up material review, even simple visual aids can help document surface conditions consistently. Tools used for detailed viewing vary by inspector and assignment, and some teams keep basic optical aids available alongside standard field equipment, such as a 3X magnifying loupe option for close visual checks of small surface features.
What a thorough report should contain
A professional inspection file should include more than photos in bulk. It should contain:
| Report element | Why it matters |
|---|---|
| Labeled elevation and slope photos | Lets the desk identify exactly where damage was observed |
| Close-ups with context shots | Prevents disputes over scale and location |
| Interior moisture or leak notes | Supports causation analysis |
| Access and safety notes | Explains limitations directly |
| Clear narrative findings | Helps estimating and coverage review move faster |
That is the anatomy of a defensible field inspection. It is systematic because the claim depends on it.
The Inspector's Toolkit Technology and Documentation
The field toolkit decides how much of the claim becomes objective evidence instead of opinion. In steep-roof storm work, the right tool does two jobs at once. It improves accuracy, and it reduces the amount of risk required to gather that accuracy.
What basic tools still do well
Traditional tools still matter. Tape measures, pitch gauges, chalk, ladder stabilizers, cougar paw boots, and a strong camera workflow remain part of solid field practice. They are direct, reliable, and easy to explain in a report.
But basic tools have limits. A visual surface check does not always reveal hidden moisture. A ladder view from one edge does not show every slope. A handwritten note without image support creates avoidable back-and-forth later.
Where technology changes the quality of evidence
In roof storm damage inspections, professionals use thermal imaging cameras, moisture meters, and drones to document conditions that the naked eye can miss. Thermal imaging identifies hidden moisture through temperature differentials. Moisture meters quantify saturation, and elevated readings indicate active leaks. Drones capture high-resolution imagery on steep roofs and help document impact patterns that distinguish acute storm damage from ordinary wear and tear (roof damage documentation methods).
That changes the conversation in a claim file. Instead of saying “possible moisture,” the inspector can document thermal anomalies, meter-confirmed wet areas, and the corresponding roof location. Instead of relying only on a ground opinion for a tall elevation, the file can include overhead imagery that shows displacement or impact patterning.
Tool choice depends on the loss, not trends
Not every inspection needs every tool.
A small single-story loss with obvious missing shingles may not need drone support. A steep multi-story roof with fragile surfaces probably does. A leak that is active but visually elusive may justify thermal and moisture verification. A tree impact scene may need careful exterior imaging before anyone decides whether direct access is safe.
That is the trade-off many people miss. Technology is not there to make a report look modern. It is there to answer a field question with less uncertainty.
What each tool contributes
- Drone imagery: Best for inaccessible slopes, broad damage pattern review, and documentation of tall structures.
- Thermal camera: Best for identifying hidden moisture paths and temperature anomalies tied to intrusion.
- Moisture meter: Best for confirming whether suspect materials are actively wet.
- Digital photo workflow: Best for annotation, location labeling, and reducing desk follow-up.
Field rule: If a tool does not improve the decision quality of the file, it is noise. If it clarifies cause, extent, or next steps, it belongs in the inspection.
Documentation matters as much as detection
The tool is only half the job. The evidence has to be organized in a way the desk can use.
Good documentation includes orientation photos, annotated close-ups, material notes, and image order that follows the structure logically. The desk should not have to guess whether photo 42 came from the rear left slope or the garage tie-in. Captions, slope labels, and a clear sequence save time.
For teams that integrate mapping or coordinate-based field workflows, equipment compatibility also matters. Some operations keep support hardware on hand for survey and location workflows, including items such as this Trimble GPS cable configuration when assignment needs call for compatible field gear.
The best claim files are not the ones with the most photos. They are the ones where every image answers a question.
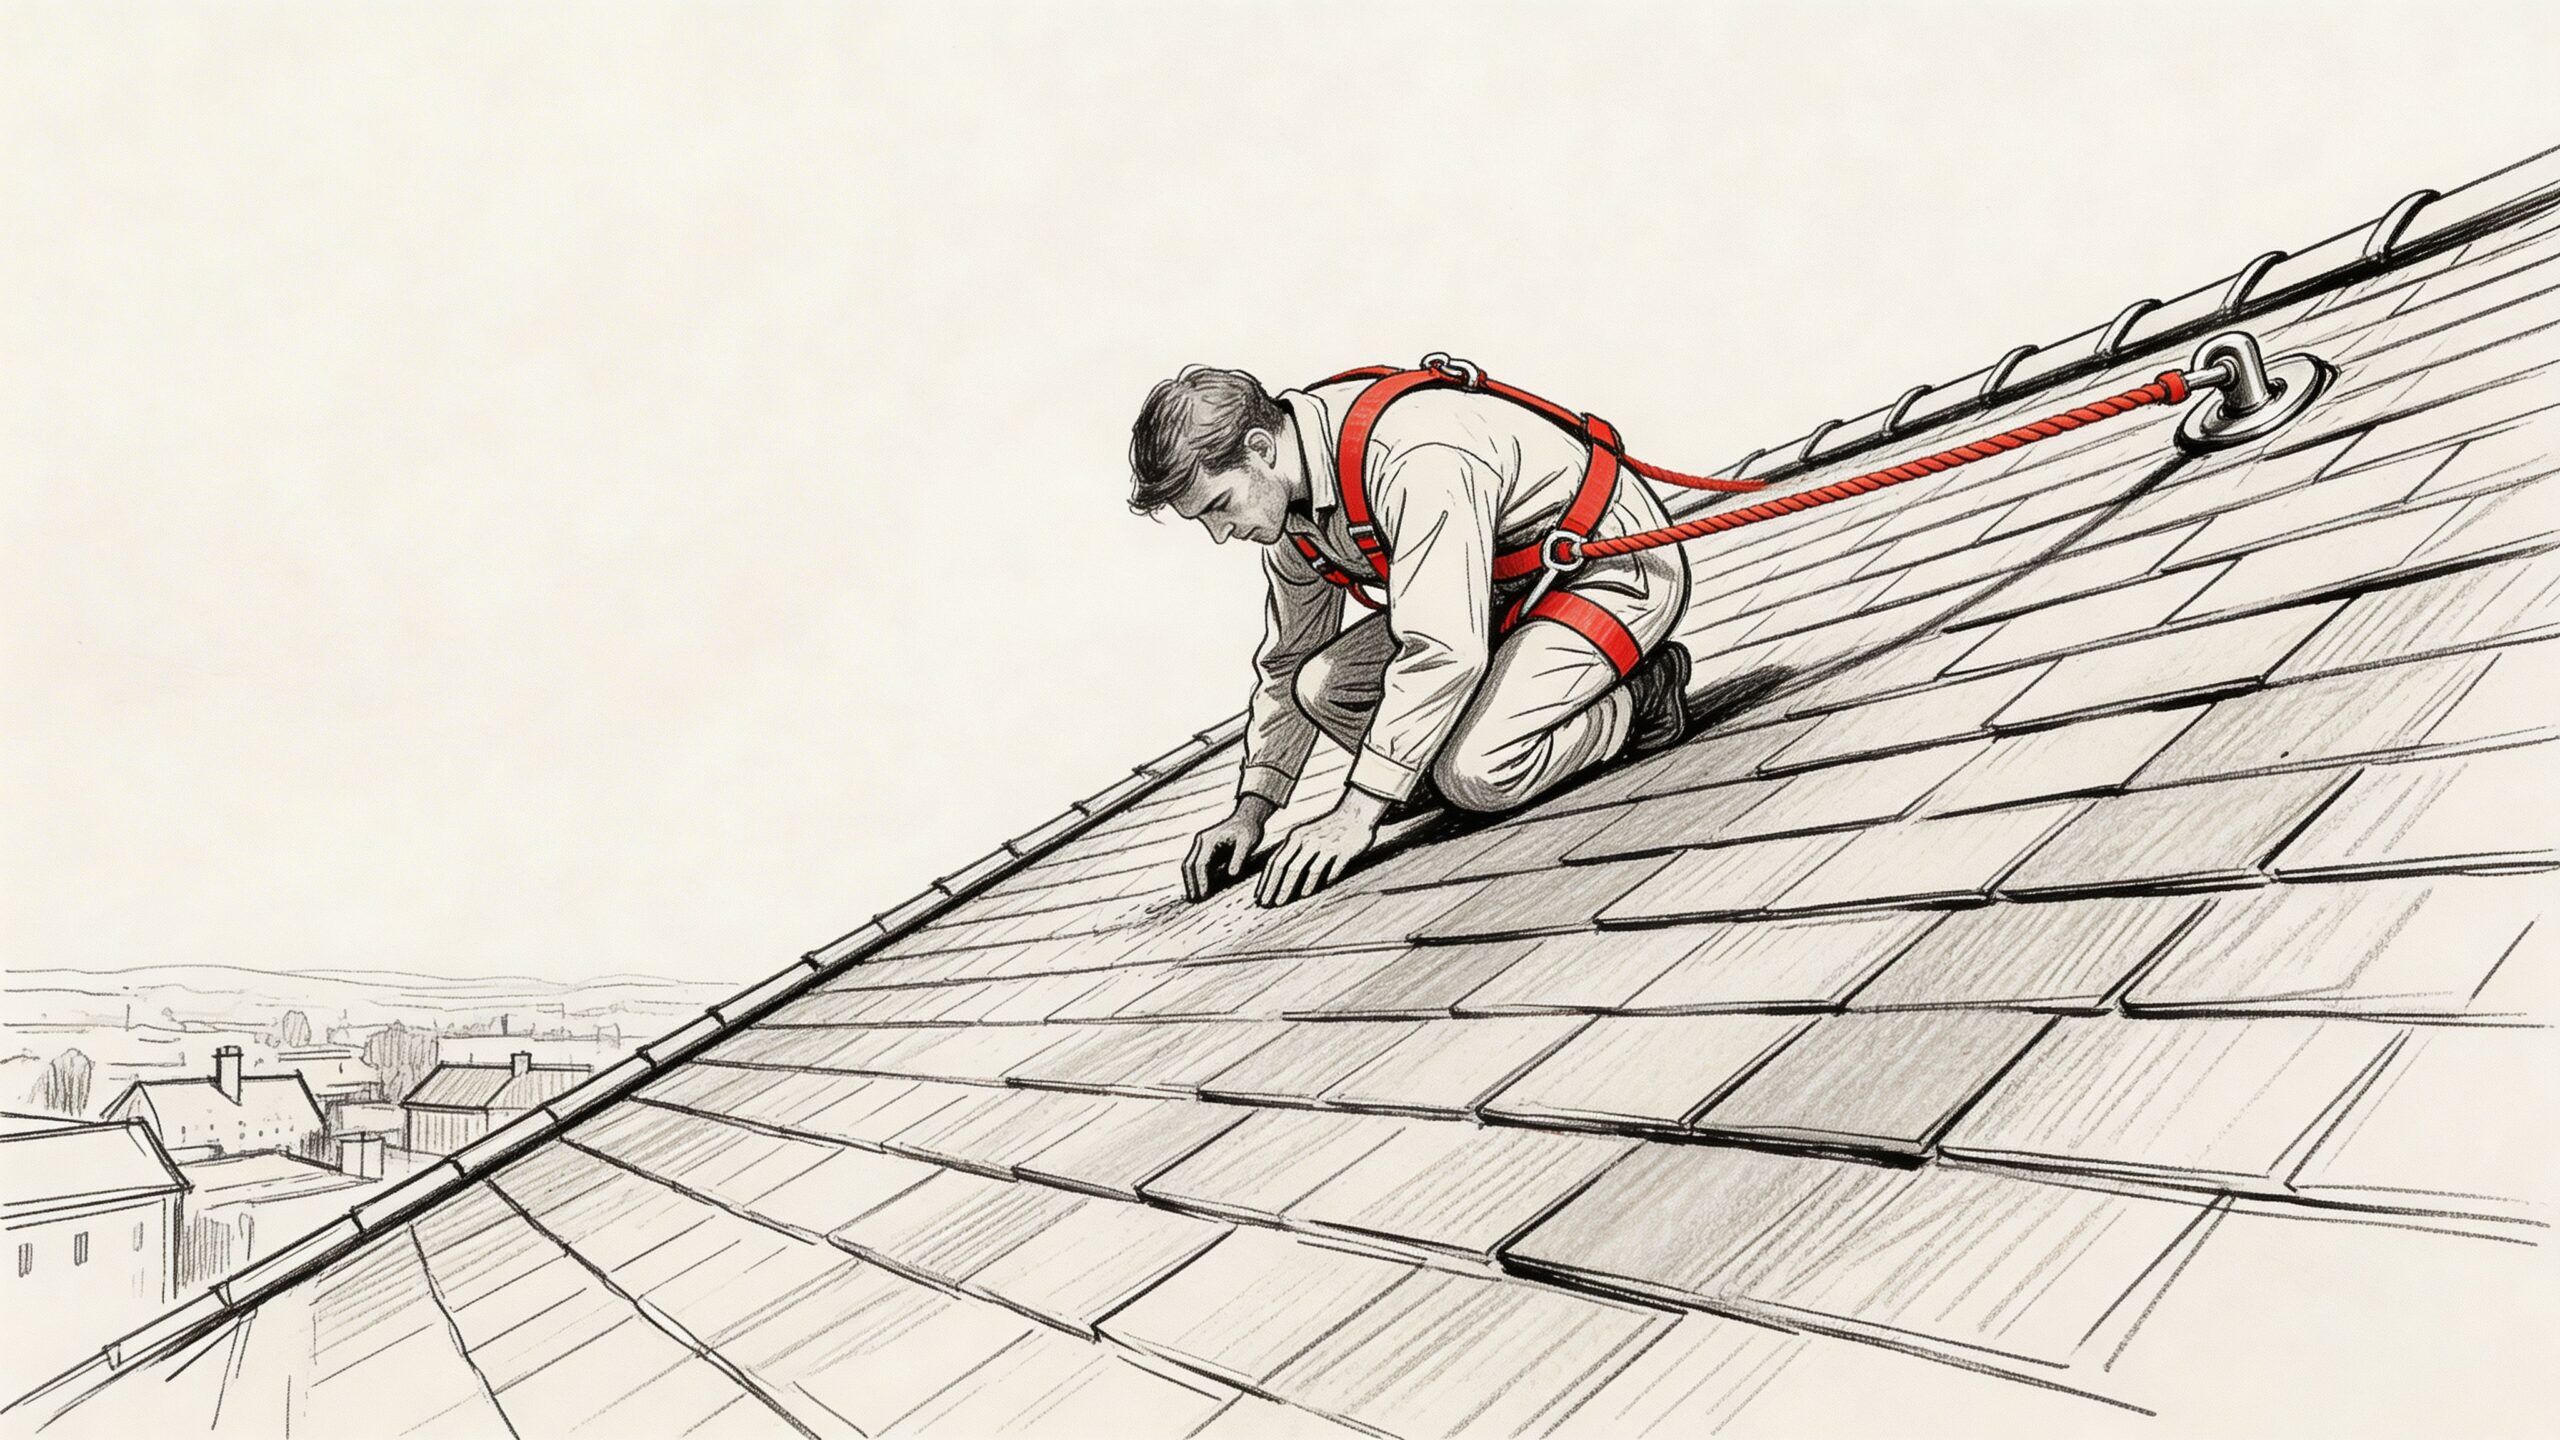
Navigating High-Risk Inspections Safety on Steep and Tall Roofs
The fastest way to derail a claim is to send someone into a high-risk inspection without the right training, access plan, or stop-work judgment. Steep roofs punish shortcuts.
Safety is part of claim efficiency
A lot of adjusters think of safety as a separate issue from file movement. In the field, they are tied together.
If the roof is too steep, too wet, structurally compromised, or obstructed by storm debris, an unsafe approach does not speed anything up. It creates partial inspections, delayed documentation, or outright refusal of access. Then the claim pauses while everyone finds another option.
That is why high-risk work needs a real access strategy from the start. Ladder placement, anchor use, harness systems, roof condition, weather, power line proximity, and structural stability all affect whether direct inspection should happen at all.
The risk is not theoretical
This issue gets underplayed in a lot of property-claims content. It should not.
Data from the U.S. Bureau of Labor Statistics indicates that falls from roofs accounted for over 1,000 fatalities in construction and extraction occupations between 2011 and 2022. The same source notes a knowledge gap around handling pitches above 4:12, and states that 40% of delays stem from inspection safety halts (roof inspection safety discussion).
Those numbers matter because they explain a common field reality. When an inspector pauses or declines direct access, that is not poor service. Often, it is proper judgment.
What good high-risk practice looks like
The strongest field teams make a series of decisions before they ever leave the ladder.
Access decision
Sometimes the right answer is boots on the roof. Sometimes it is edge inspection plus drone support. Sometimes it is “not today” because the substrate, pitch, or storm condition makes access unreasonable.
Protection decision
If direct access is justified, the inspector should use the appropriate fall protection and ladder setup for the structure and conditions. Visibility gear is part of that broader site discipline, and field teams often use items comparable to high-visibility reflective safety strips to improve visibility on active or low-light sites.
Documentation decision
Unsafe conditions should still be documented. A report should state why access was limited, what alternate methods were used, and what findings remain provisional pending safer conditions or additional equipment.
Practical tip: A safety limitation is acceptable. An undocumented limitation is not.
Drones are a safety tool first
There is a tendency to treat drones as a convenience upgrade. In steep and tall roof inspections, they are first a risk-control tool.
A drone can capture slope conditions, detached components, impact zones, and general roof layout without exposing a field inspector to unnecessary danger. That does not eliminate the need for hands-on inspection in every case, but it improves decision-making before direct contact happens.
This walkthrough gives a useful visual sense of how field safety and roof access decisions connect in practice.
Why specialized teams matter
General inspection skill is not enough on a steep, tall, storm-affected structure. The field rep has to read both damage and hazard at the same time.
That is one place where a specialist can fit into the workflow as a factual operational option. Fox Claims Consultants LLC performs steep and tall roof inspections, ladder assist, storm and tree damage assessments, emergency tarping, and related field documentation for claims workflows. On difficult structures, that kind of specialization helps carriers and adjusters get inspection data without pushing unsafe site decisions.
Good safety practice does not slow claims. It prevents the kind of mistakes that slow them far more.
Preparing for the Inspection A Checklist for Success
A storm-damaged steep roof can turn a routine appointment into a slow claim within minutes if the site is not ready. The missed gate code matters. The blocked driveway matters. The missing loss details matter. On high-risk properties, preparation protects safety and gives the desk cleaner, faster field results.
As noted earlier, OSHA continues to inspect hazardous job conditions heavily in construction-related work. That matters in claims because access problems, undocumented hazards, and incomplete site information all affect cycle time, documentation quality, and what can be inspected safely on the first visit.
For the homeowner
Homeowners do not need to know roofing systems or claim protocol. They need to help us see the loss clearly and reach the right areas without delay.
- Pull together prior records: Have roof invoices, prior repair receipts, previous claim paperwork, and storm photos ready if available.
- Clear access points: Unlock gates, move vehicles, and make sure we can reach attic entries, upper rooms, garages, and other affected areas.
- Write down the timeline: Note when the leak appeared, which room showed damage first, and whether tarping or other temporary repairs were done.
- Secure pets and limit interruptions: Loose animals and occupied work zones create avoidable hazards and slow documentation.
- Leave physical evidence in place: Shingle fragments, dented soft metals, fresh granules, water marks, and damaged contents can help connect exterior findings to interior conditions.
One clear walkthrough from the property owner often saves more time than a stack of follow-up calls later.
For the adjuster
Field efficiency is usually set before dispatch. A short, clear assignment gives the inspector a usable target and reduces preventable return trips.
| Adjuster preparation item | Why it matters |
|---|---|
| Send loss details early | Gives the field team the reported cause of loss, date of loss, and insured concerns before arrival |
| Identify the disputed issues | Directs attention to problem slopes, interior leak paths, prior repairs, or cause questions |
| Define the deliverables | Clarifies whether the file needs photos, narrative notes, measurements, ladder assist, or estimate support |
| Share access limits | Prevents wasted trips to tenant-occupied, gated, or restricted properties |
| Set the priority level | Helps us separate emergency stabilization needs from full-scope inspection work |
At Fox Claims, we see the same pattern across difficult roof claims. The smoother files start with direct instructions, accurate contacts, and a realistic picture of site conditions.
Key takeaway: The best inspection prep gives the field team enough context to document the loss correctly on the first trip.
Small prep steps that save real time
Preparation is not paperwork for its own sake. It changes what happens on the roof and inside the file.
If the homeowner has attic access ready, points out the active leak area, and leaves storm-related debris undisturbed, we can tie observations together faster. If the adjuster sends the assignment with contact details, scope questions, and expected outputs, we spend less time clarifying and more time documenting.
Readiness also comes down to field equipment. Charged cameras, spare batteries, backup lighting, and organized file capture prevent avoidable gaps in documentation. Teams often keep backup power on hand, including a Sony NP-F series camera battery option, because dead gear has no place on a steep-roof storm inspection.
Preparation does not reduce the severity of the loss. It improves the speed, accuracy, and safety of the inspection.
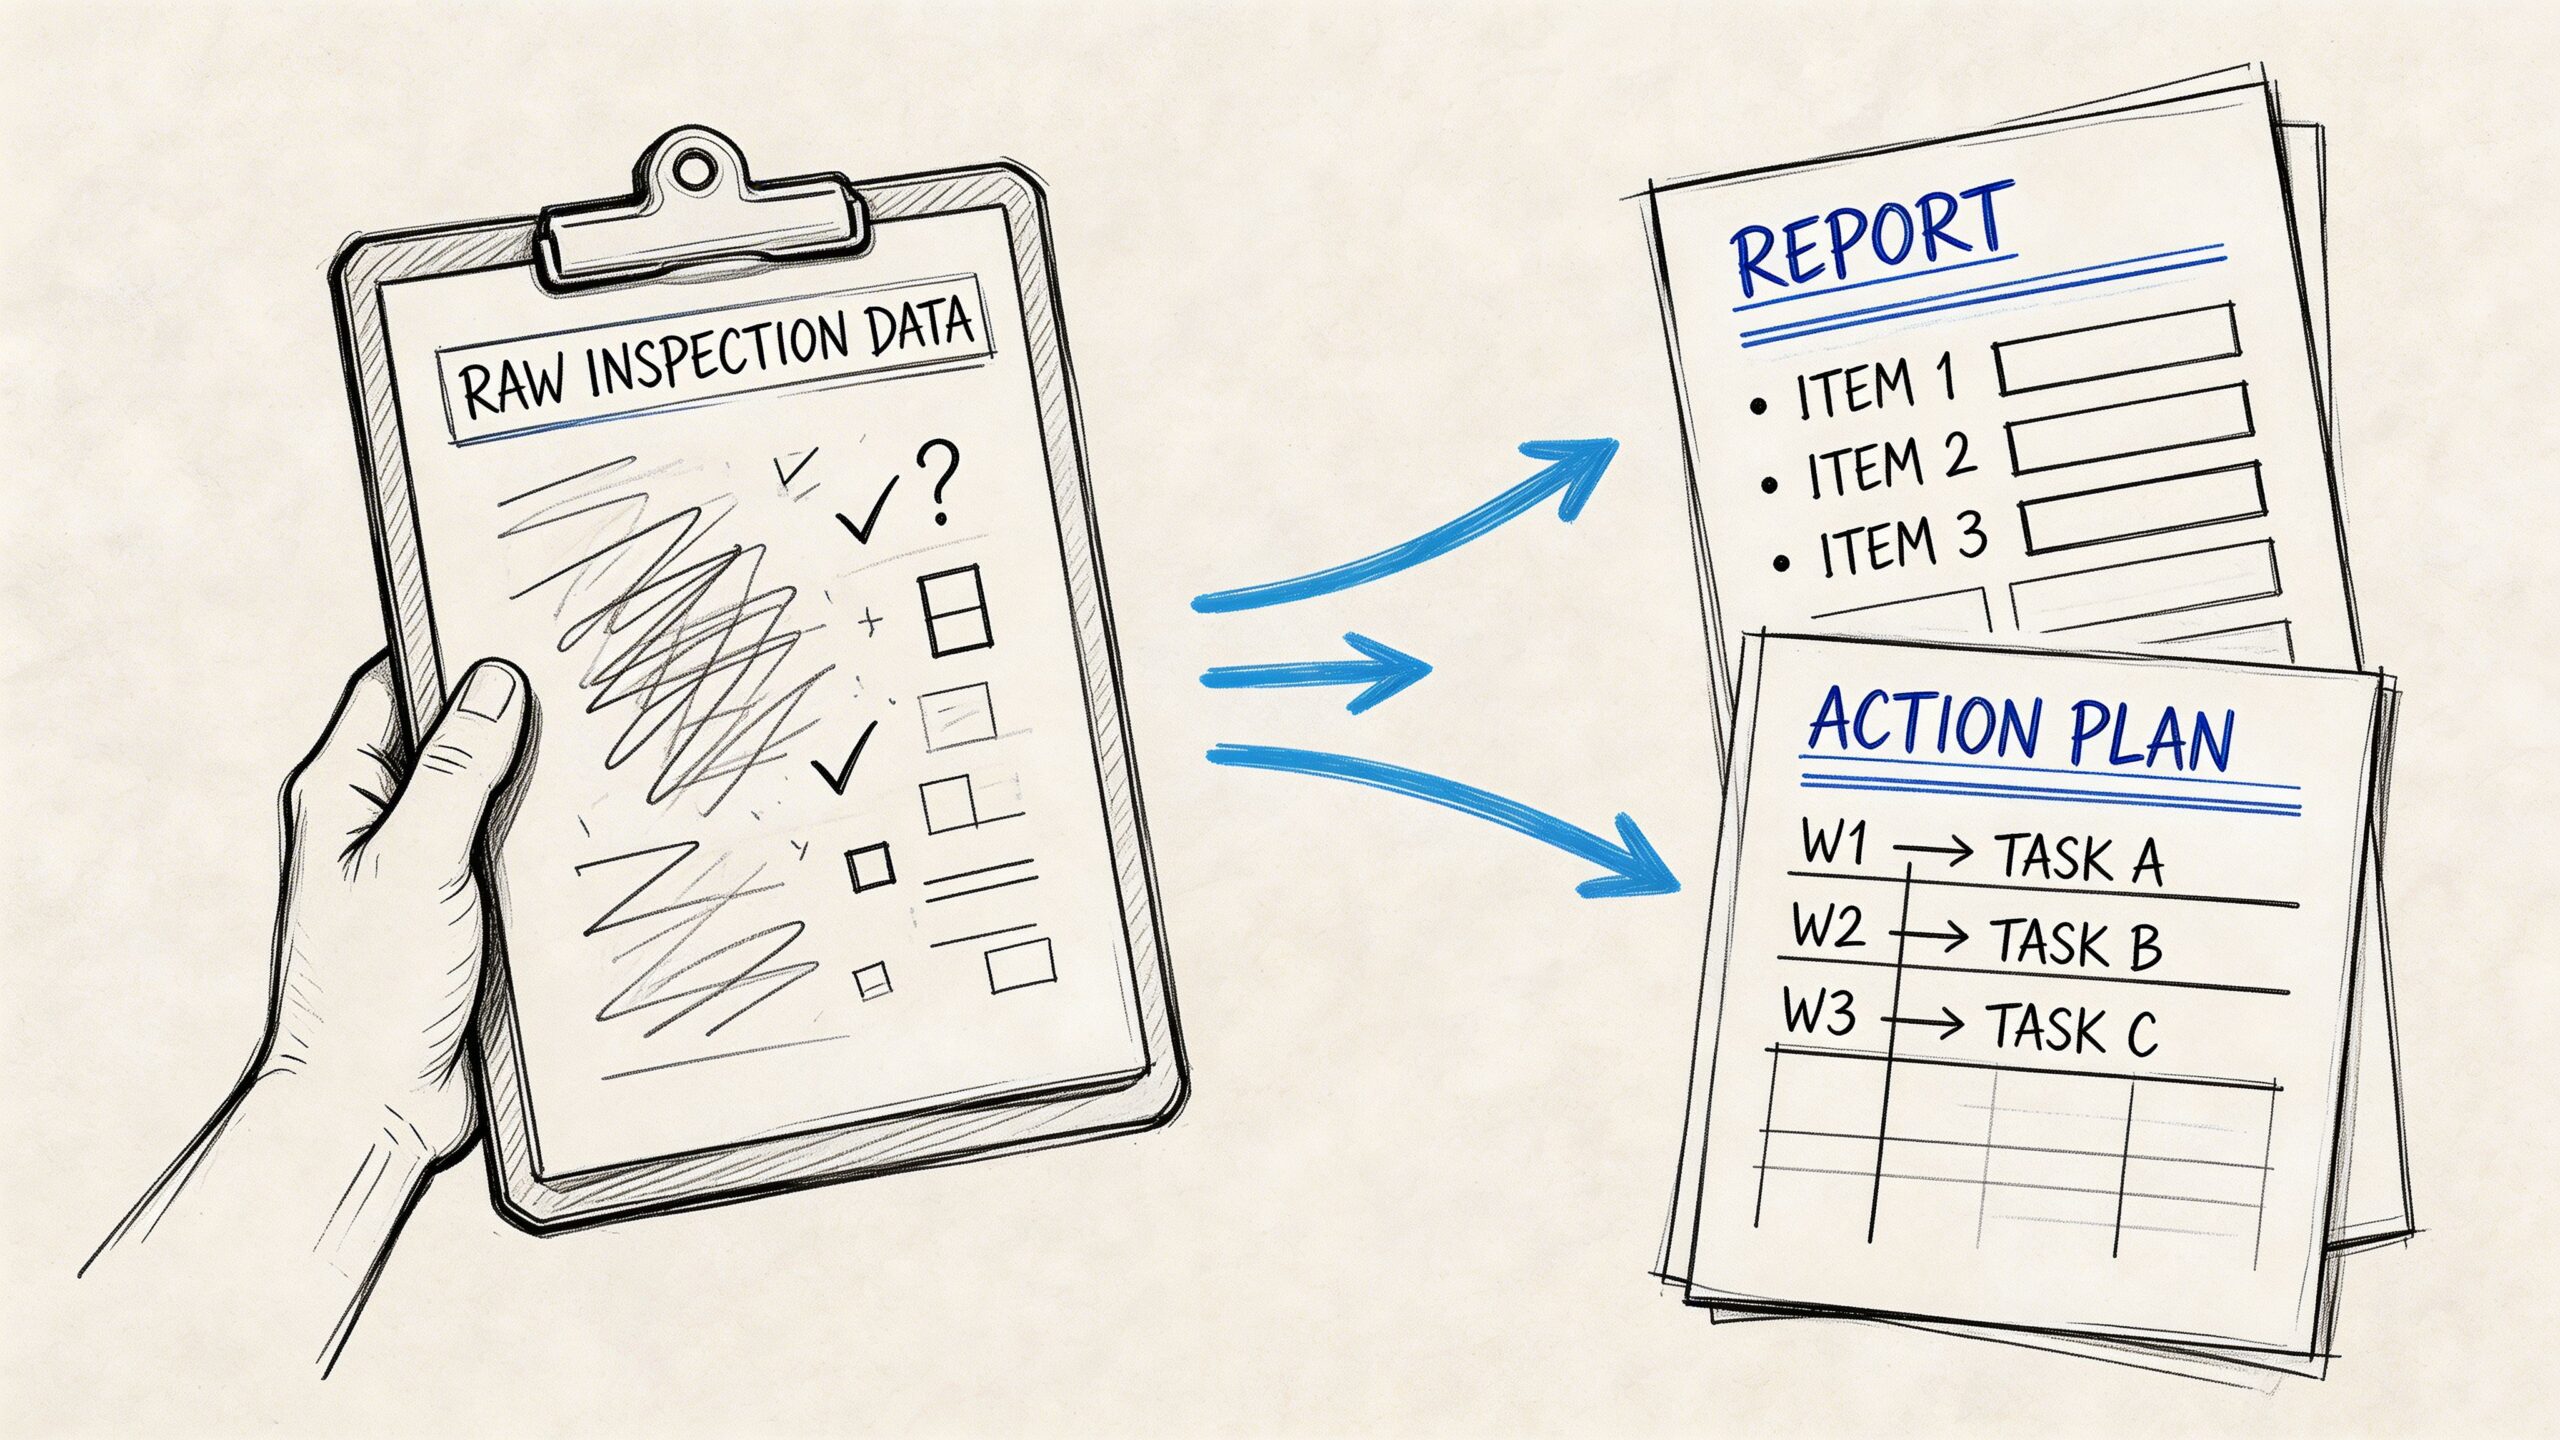
From Inspection to Action Timelines and Deliverables
The field visit is only valuable if the output helps someone decide what happens next. After the inspection, the claim needs a package that supports mitigation, review, estimating, and communication.
What the desk should expect to receive
A useful post-inspection file usually includes a combination of field photos, written narrative, and scope-supporting observations. If emergency services were involved, the first deliverable may focus on site stabilization and immediate conditions. If the assignment was extensive, the report should connect observed damage to specific roof areas, elevations, and interior locations.
The best deliverables answer practical questions:
- What was observed?
- Where was it observed?
- How was it documented?
- Were there safety or access limits?
- What should happen next?
In many claims, a photo report without context is not enough. The desk needs annotations, location labels, and plain-language notes that can be reviewed quickly.
Turnaround is about decision quality, not just speed
Claims teams want fast reporting. They should. But a report that arrives fast and leaves major questions unanswered often costs more time than it saves.
That is where drone-supported workflows are affecting claim operations. One reported trend states that drone-authorized claims processing increased by 28% after March 2025 FAA rule updates, reducing cycle times by 2 to 3 days per claim. The same source notes that many adjusters still lack practical guidance on integrating that data into their workflow (discussion of drone-authorized claims processing).
The operational takeaway is straightforward. Better field capture only helps if the reporting format lets the desk use it immediately.
Deliverables that move a file
Photo package
This should include wide shots, slope or elevation identifiers, close-ups, and context images that show exactly where the close-up was taken.
Narrative summary
This should explain observed conditions in direct language. Not legal language. Not vague language. Field language that can support claim handling.
Scope support
If the assignment includes estimating input, the field observations should be organized so an estimator can work without reinterpreting every image.
Practical tip: The best reports reduce follow-up calls because they anticipate the desk’s next question before it gets asked.
Set realistic expectations
Some claims need same-day site updates because mitigation decisions cannot wait. Others need a fuller inspection package after the field team completes image review and report assembly.
What matters most is consistency. If the client knows what will be delivered, in what format, and at what stage, the workflow stays calmer. Confusion after the field visit usually traces back to unclear expectations, not field conditions alone.
A professional on site inspection does not end when the inspector leaves the property. It ends when the file is usable.
How a Professional Partner Streamlines Your Workflow
Most claim delays are not caused by one big failure. They come from smaller breakdowns that stack up. Incomplete photos. Unclear roof access notes. Missing interior correlation. Weak communication after dispatch. Reinspection because the first visit did not answer the actual question.
A professional field partner reduces those breakdowns by tightening the handoff between field reality and desk decision-making.
What changes when the field process is built correctly
The first improvement is consistency. The desk starts receiving reports that follow a pattern. Location labeling is clear. Damage narratives are direct. Safety limits are documented instead of hidden.
The second improvement is confidence. When a field team knows how to inspect steep roofs, tree impacts, and storm-related interior moisture properly, the adjuster spends less time wondering what was missed.
The third improvement is workflow control. Good field partners communicate status early, report limitations clearly, and separate confirmed findings from pending issues. That helps carriers and independent adjusters make cleaner decisions faster.
The practical value of integration
A specialized inspection partner should fit into an existing process, not force the claims team to redesign one.
That means they need to handle assignment intake cleanly, communicate with insureds professionally, document emergency conditions, support ladder assist needs, and return a report package that estimating and claim handling teams can use. In the field, communication tools matter too, especially when teams are covering large territories and moving between active sites. Some operations support that with dedicated mobile hardware such as an LTE fleet communication smartphone setup for vehicle-based coordination.
What works and what does not
What works is simple:
- Clear assignment instructions
- Strong field judgment
- Safe access planning
- Evidence organized for the desk
- Communication that stays active from dispatch through delivery
What does not work:
- Sending unprepared inspectors onto high-risk roofs
- Treating drone images as a substitute for analysis
- Delivering huge photo dumps with no structure
- Leaving safety limitations unexplained
- Waiting until the report is late to mention an access problem
Final takeaway: The right inspection partner brings order to a loss by making the field evidence usable, credible, and timely.
That is the core value of a professional on site inspection. It is not just boots on the ground. It is disciplined fieldwork that helps the claim move with fewer delays, fewer disputes, and better information at every step.
If you need a national field partner for steep and tall roof inspections, ladder assist, storm and tree damage assessments, emergency tarping, or complete property documentation, Fox Claims Consultants LLC supports carriers, adjusters, and property owners with safety-focused on-site inspection services designed to keep claims moving.
Leave a Reply